- Inpainting: Changing a portion of an existing image, such as removing or adding an object.
- Extending an image: Extending an image outward, this is also sometimes call outpainting, uncropping or “zooming out”.
Inpainting - Modifying an existing image
In this example we will use Fill to add new elements to an existing image. It can also be used to remove or alter existing elements.
Fill is controlled by two inputs:
- a selection
- a text prompt
Marquee
tool (ctrl/⌘ + M), indicates the region of the image you wish to modify.
The prompt allows you to guide the generation in a specific direction, you can also decide to not provide any prompt and let Alpaca
decide what to generate based on the rest of the image.
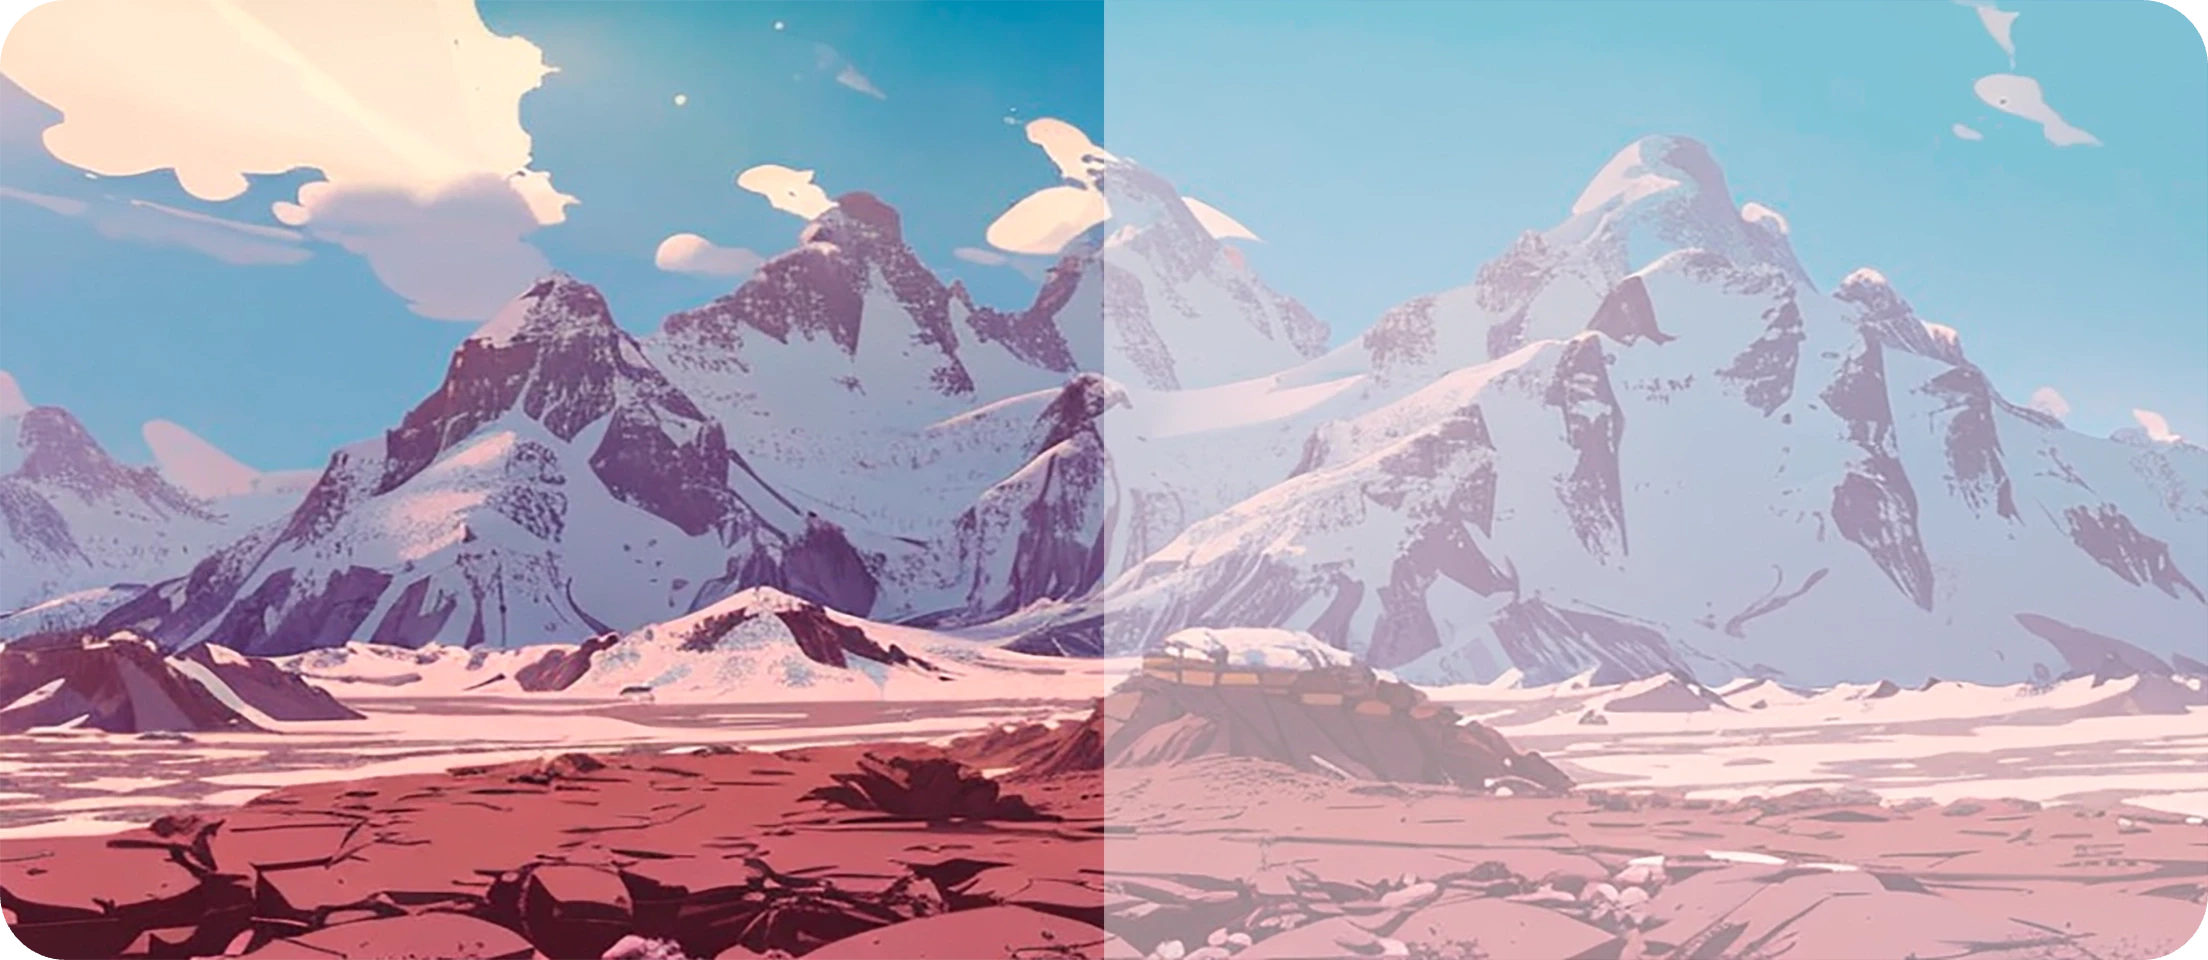
Extending an image
It is possible to extend an image by repeating the process describe above in all directions, but that would be pretty cumbersome. For this purpose, Alpaca has a second mode to make this process much faster.
First, extend your document’s canvas to the new desired size (keep in mind Alpaca cannot fill zones more than 2048x2048 in dimension).

Extending the canvas with transparency
Fill Settings, change the Region to fill settings to Transparency.
Generate.
Parameters
Main Parameters
Main Parameters
Prompt
ThePrompt box, located in the main section of the Alpaca panel, takes in a text prompt describing the subject matter,
style, composition, and characteristics of your desired image. You can also describe what you Exclude.
You can learn more about writing prompts by checking our our Prompt Guide.Images
Allows you to specify how many images you want Alpaca to generate from 1 to 5. The higher the number of images, the more credits the generation will cost, and the slowest it will be.Seed
The seed acts as a unique identifier, guiding the creation process of each generation. If you retain the same seed with identical settings, the output will always be the same. Retain the seed, while changing other parameters (e.g. altering the prompt) and you’ll derive a distinct yet related creation. For an element of unpredictability, set the seed to0 and Alpaca will choose a random seed for each image, creating more variationsSteps
Higher number of steps will lead to better quality, but also cost more credits and make the generation slower.Fill Settings
Fill Settings
Region to fill
Controls which part of your selection will be changed in the generation.Entire Selection: Default mode — your entire selection will be modified to match the surrounding pixels and your prompt. Best for inpainting.Transparency: Only the parts of your selection that are transparent will be modified. This is best for extending an image (Zooming out or Outpainting)
Advanced Settings
Advanced Settings
Prompt Strength
ThePrompt Strength slider controls the influence of the prompt — higher values of this parameter force the model to be more
attentive to the prompt. We can consider this to be a “rigid” vs “relaxed” interpretation of the prompt. 7 is a good balance.