> ## Documentation Index
> Fetch the complete documentation index at: https://docs.alpacaml.com/llms.txt
> Use this file to discover all available pages before exploring further.
# Render Settings
> Understanding how to get the perfect render
Alpaca has two primary settings to manage your renders:
* **Details**: This dictates how extensively your input is rendered.
* **Freedom**: This determines how closely the render adheres to your input's intent.
For beginners using Alpaca, our presets can be used to easily switch between different modes. These presets automatically adjust **Details** and **Freedom** for you.\
As you become more familiar with Alpaca, learning how to manually adjust these settings will provide you with precise control over your renders.
Now, let's check what those settings do separately.\
We are going to use the following sketch as our example:
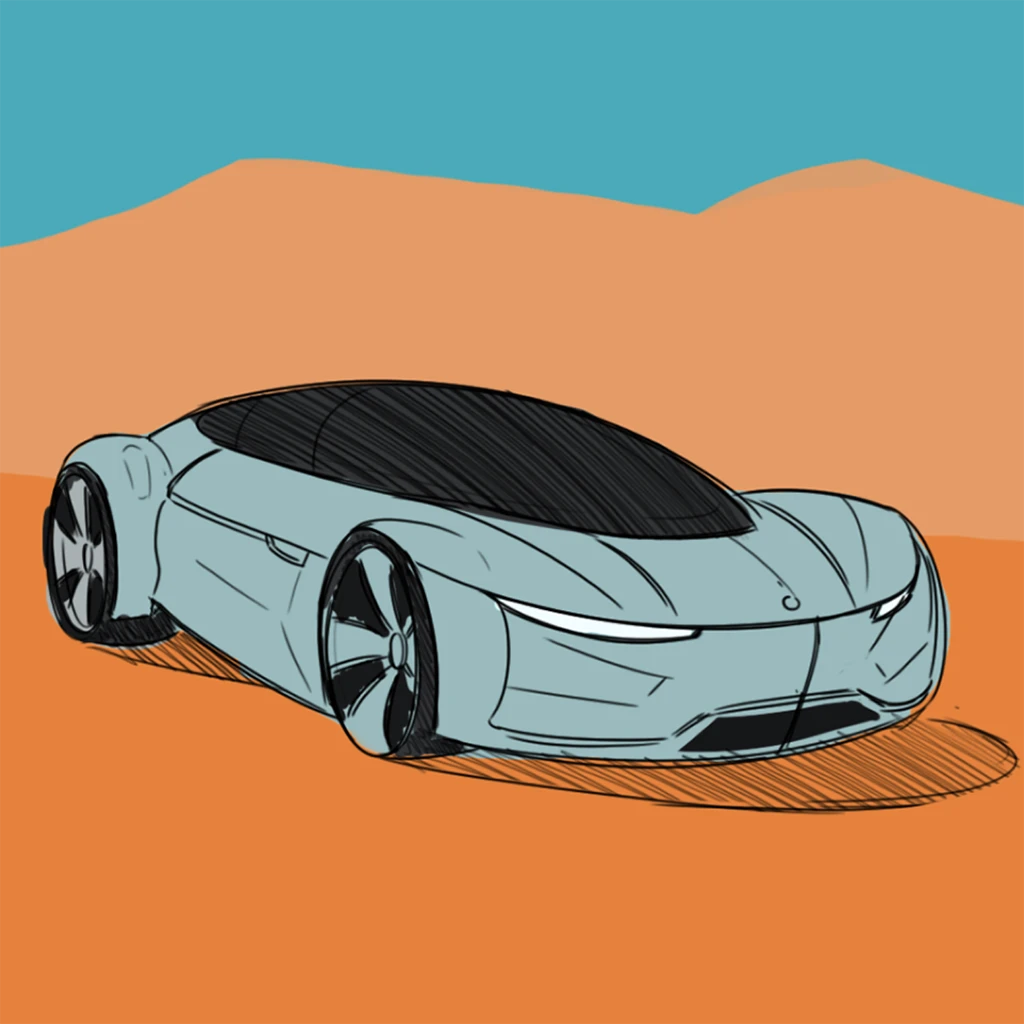 And our prompt will always be `a super car in the desert, ultra realistic`.
## Details
**Details** can be adjusted between 0 and 100. A value of 0 means no rendering will occur (which is usually not very useful, except in some specific use cases) while a value of 100 indicates maximum rendering.
Now, let's look at an example where we gradually increase the **Details** value, while keeping **Freedom** untouched.
And our prompt will always be `a super car in the desert, ultra realistic`.
## Details
**Details** can be adjusted between 0 and 100. A value of 0 means no rendering will occur (which is usually not very useful, except in some specific use cases) while a value of 100 indicates maximum rendering.
Now, let's look at an example where we gradually increase the **Details** value, while keeping **Freedom** untouched.
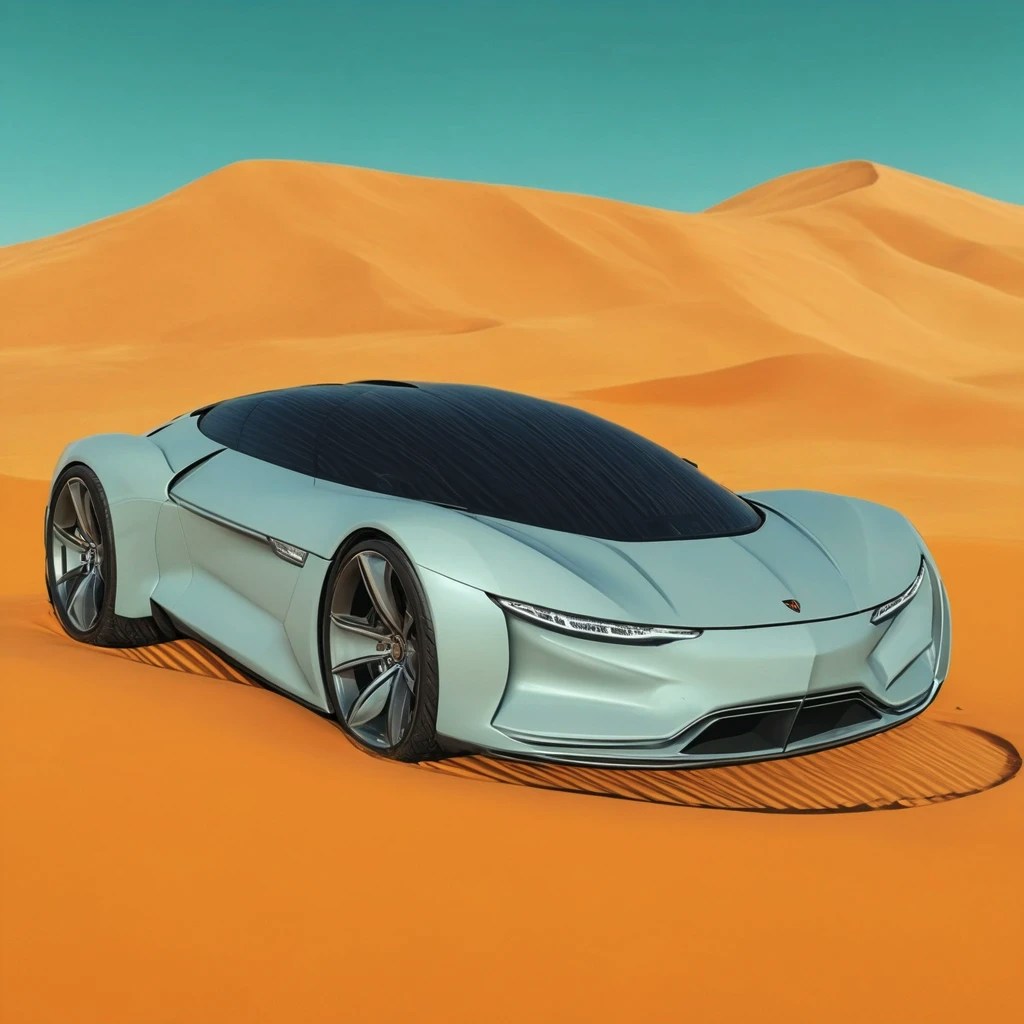
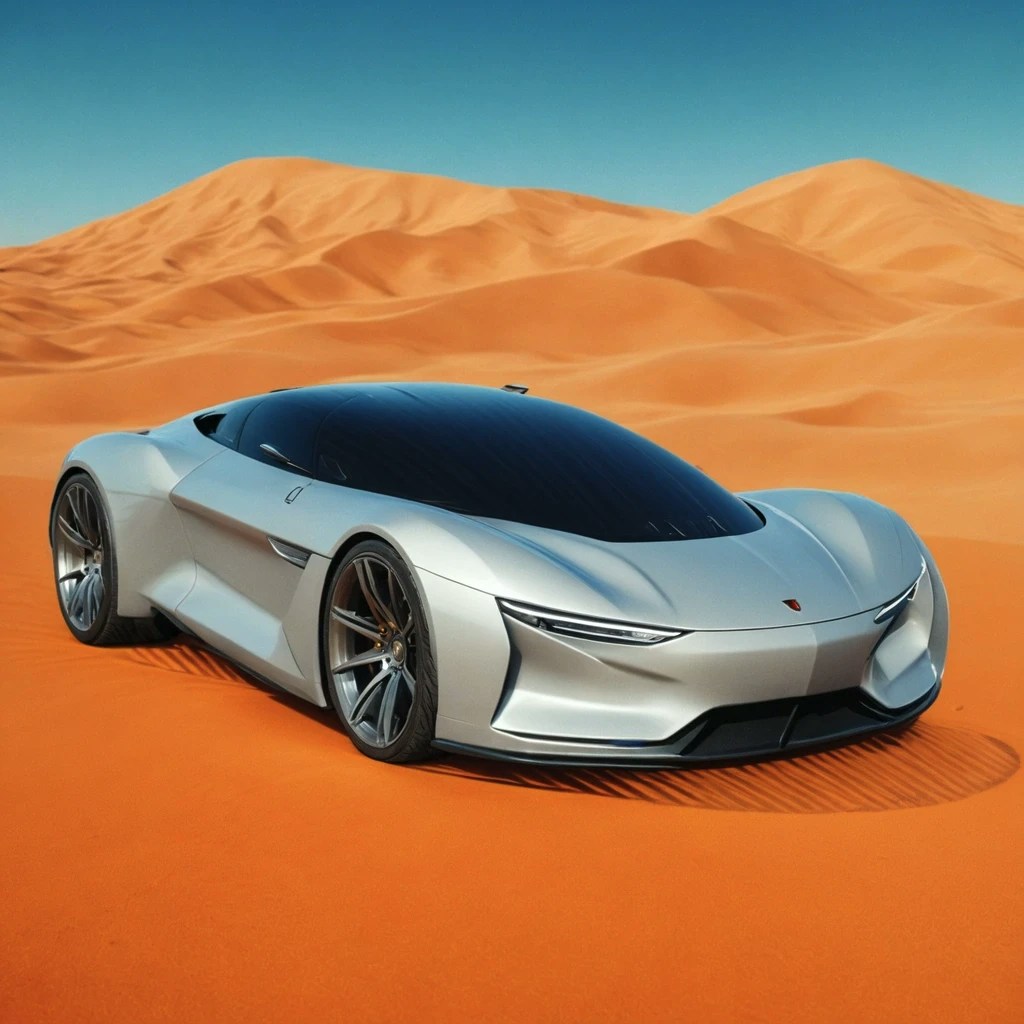
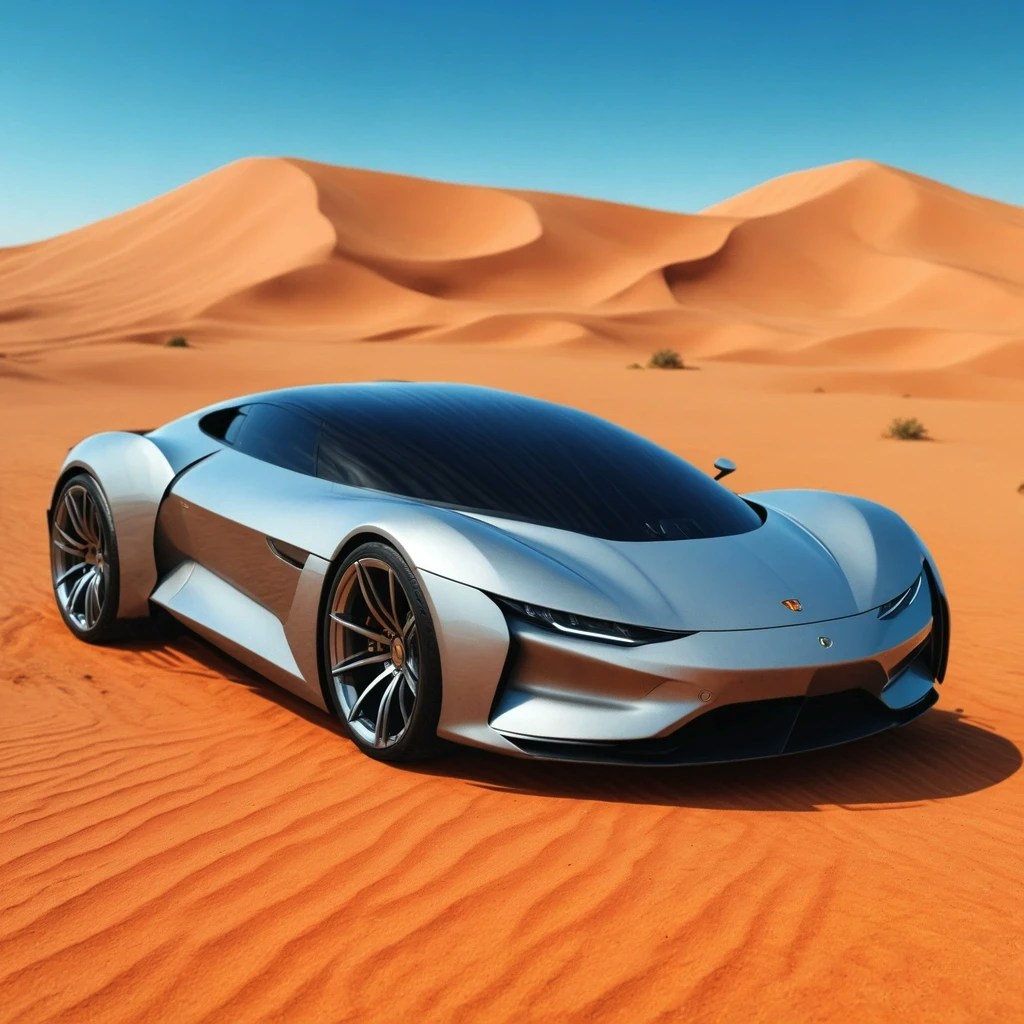 As we increase the strength, our original sketch becomes progressively more rendered in the style of the prompt.
## Freedom
**Freedom** also goes from 0 to 100. A value of 0 means the model should not be given any freedom when it comes to the composition, structure and colors of the render.
A freedom of 100 means that the model should not get too concerned about what our initial sketch represents, and should instead treat it simply as a loose starting point.
This time, let's keep **Details** constant with a value of 100, and let's see what varying **Freedom** does to our renders:
As we increase the strength, our original sketch becomes progressively more rendered in the style of the prompt.
## Freedom
**Freedom** also goes from 0 to 100. A value of 0 means the model should not be given any freedom when it comes to the composition, structure and colors of the render.
A freedom of 100 means that the model should not get too concerned about what our initial sketch represents, and should instead treat it simply as a loose starting point.
This time, let's keep **Details** constant with a value of 100, and let's see what varying **Freedom** does to our renders:
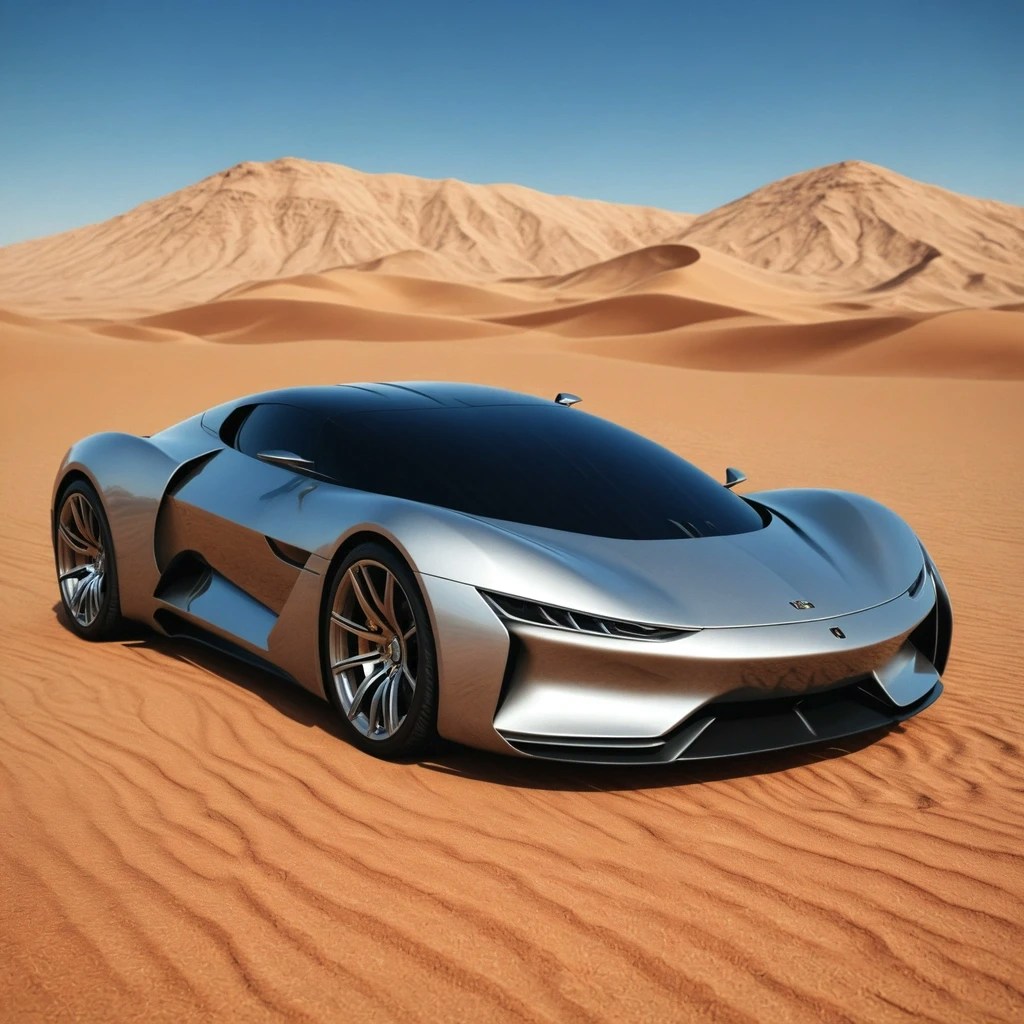
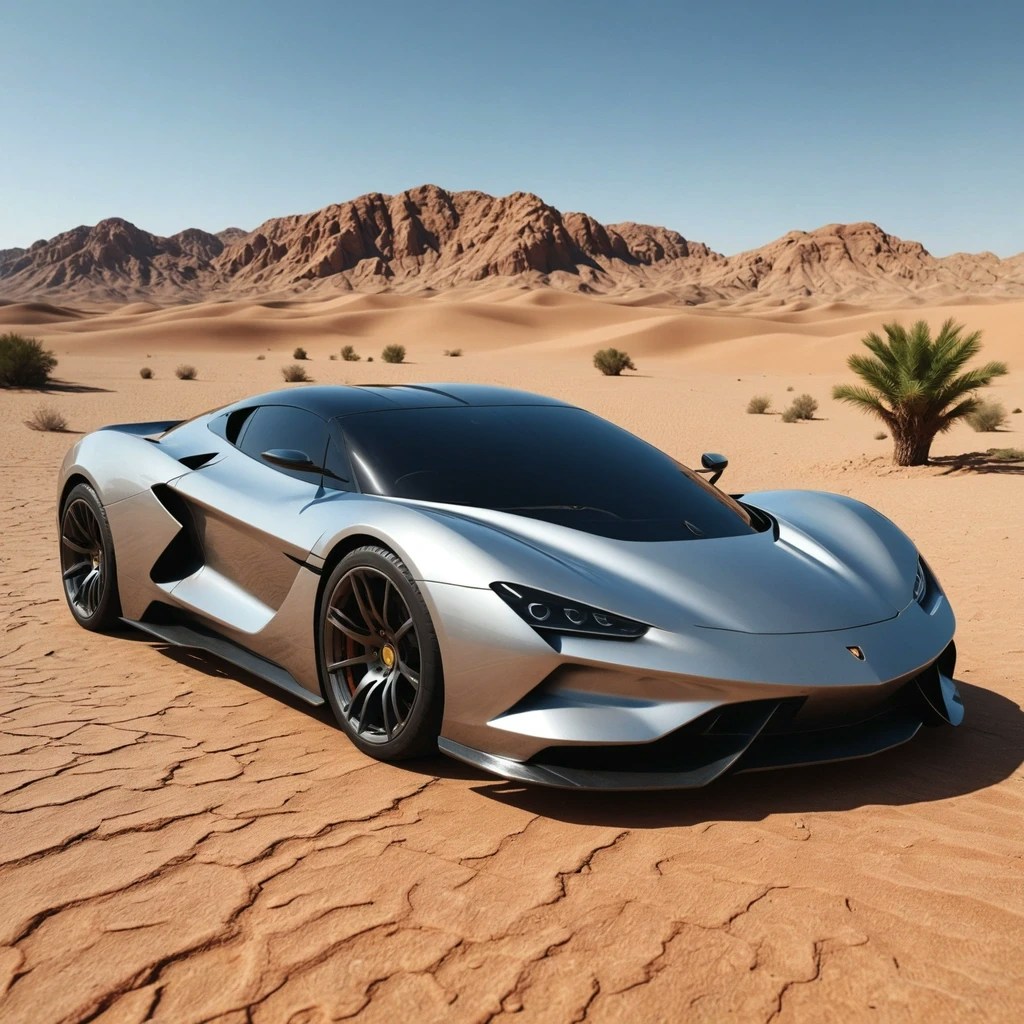
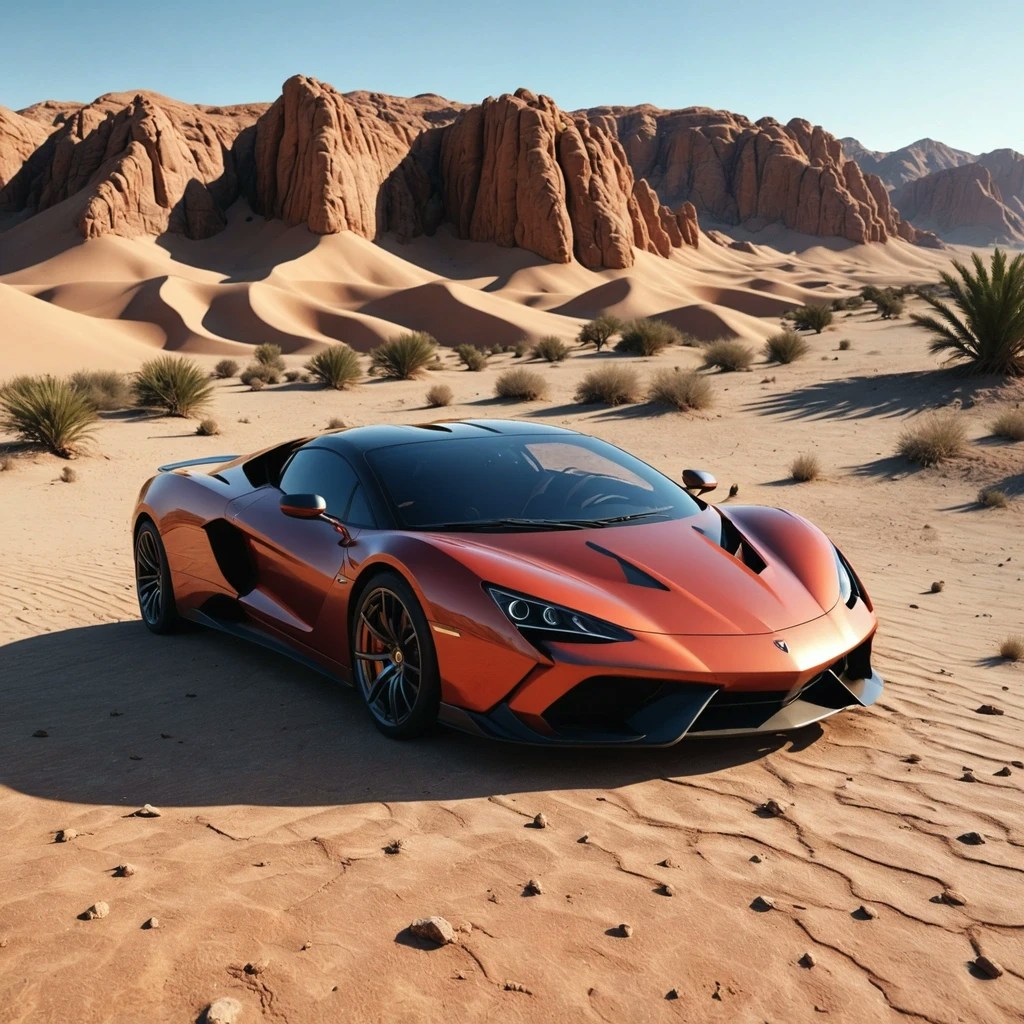 Here we can see that the level of rendering is not affected by **Freedom** (they all look equally realistic), however as we increase freedom, our renders
become less and less faithful to our original sketch.
This is particularly useful in a few scenarios, for example:
* If you have a very rough sketch and you don't want Alpaca to follow it too closely
* If you want to generate a few variations around an image you like
* Any other scenario where you want to give Alpaca a bit of creative freedom, this will give you more unexpected results, which can be great for ideation
Here is an example where giving a bit of **Freedom** to the model leads to better result.
Here we can see that the level of rendering is not affected by **Freedom** (they all look equally realistic), however as we increase freedom, our renders
become less and less faithful to our original sketch.
This is particularly useful in a few scenarios, for example:
* If you have a very rough sketch and you don't want Alpaca to follow it too closely
* If you want to generate a few variations around an image you like
* Any other scenario where you want to give Alpaca a bit of creative freedom, this will give you more unexpected results, which can be great for ideation
Here is an example where giving a bit of **Freedom** to the model leads to better result.
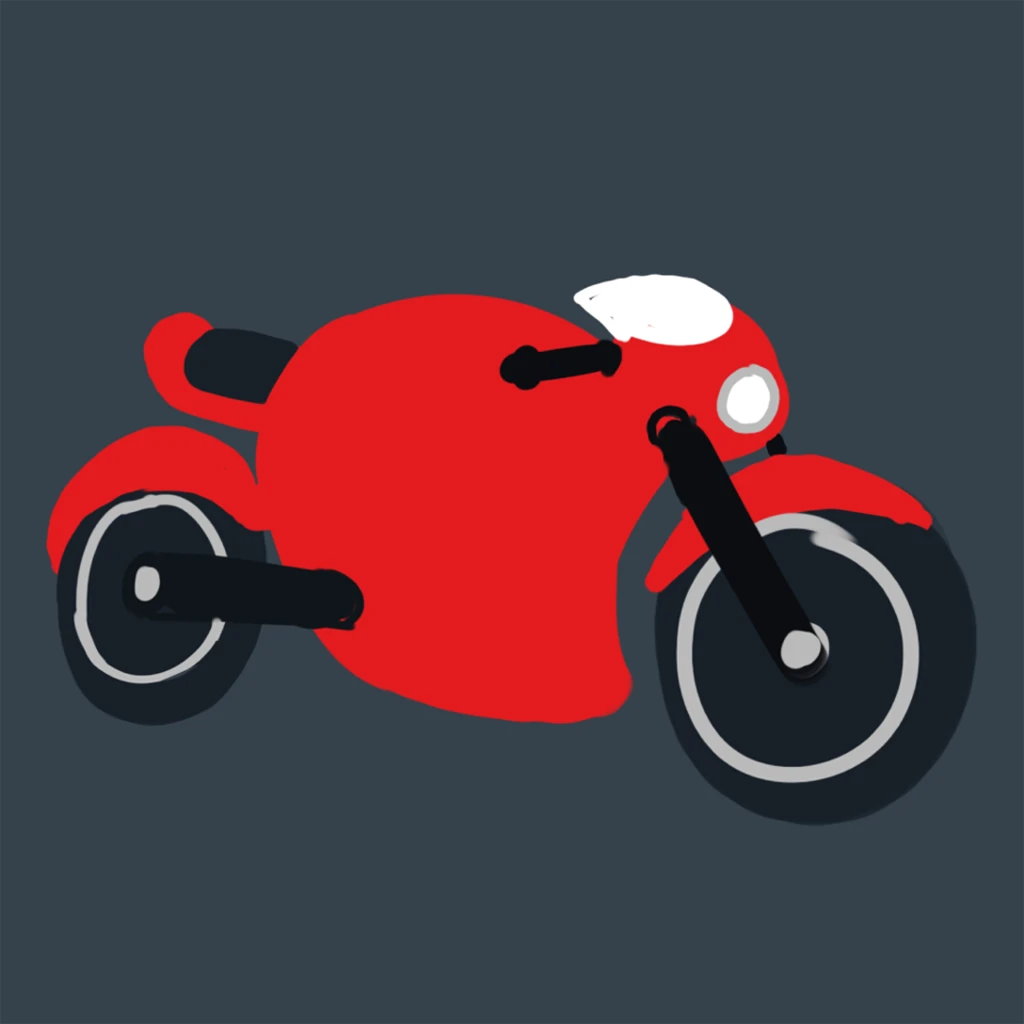
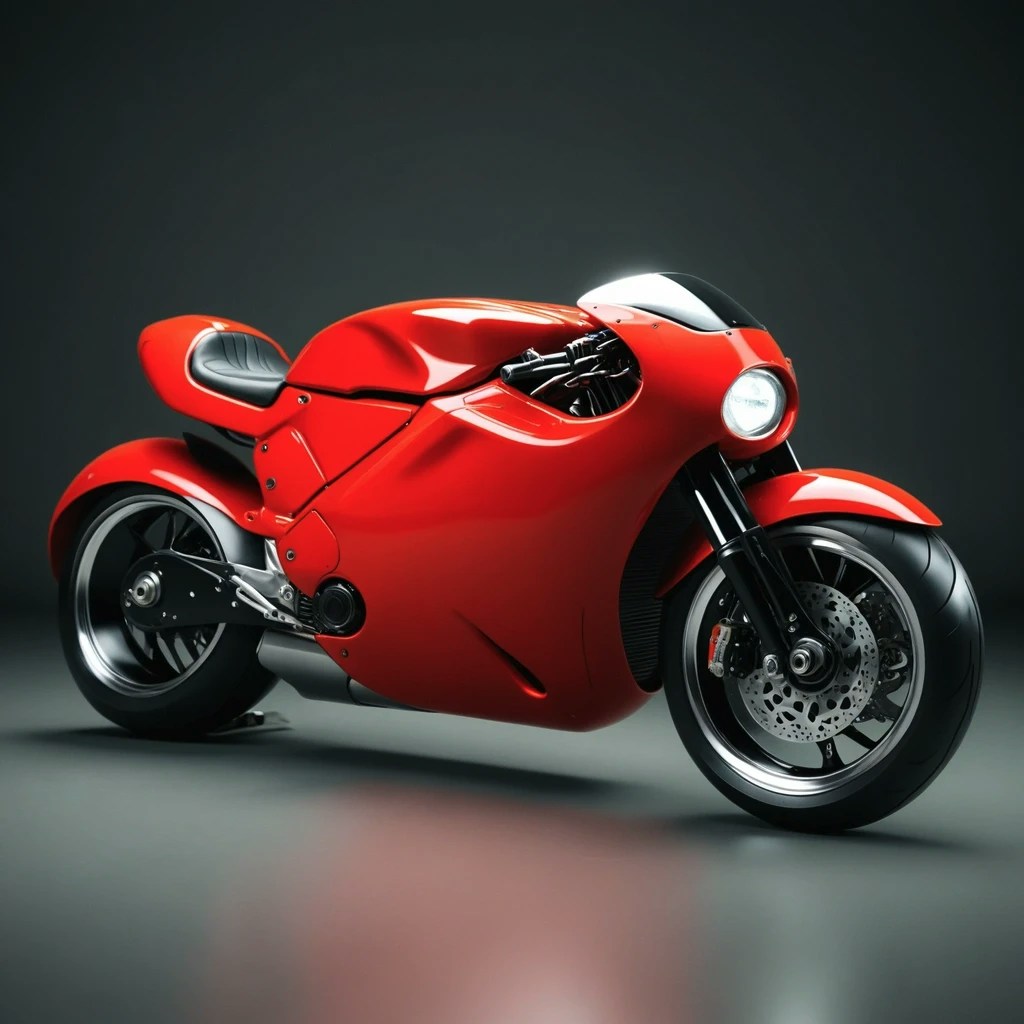
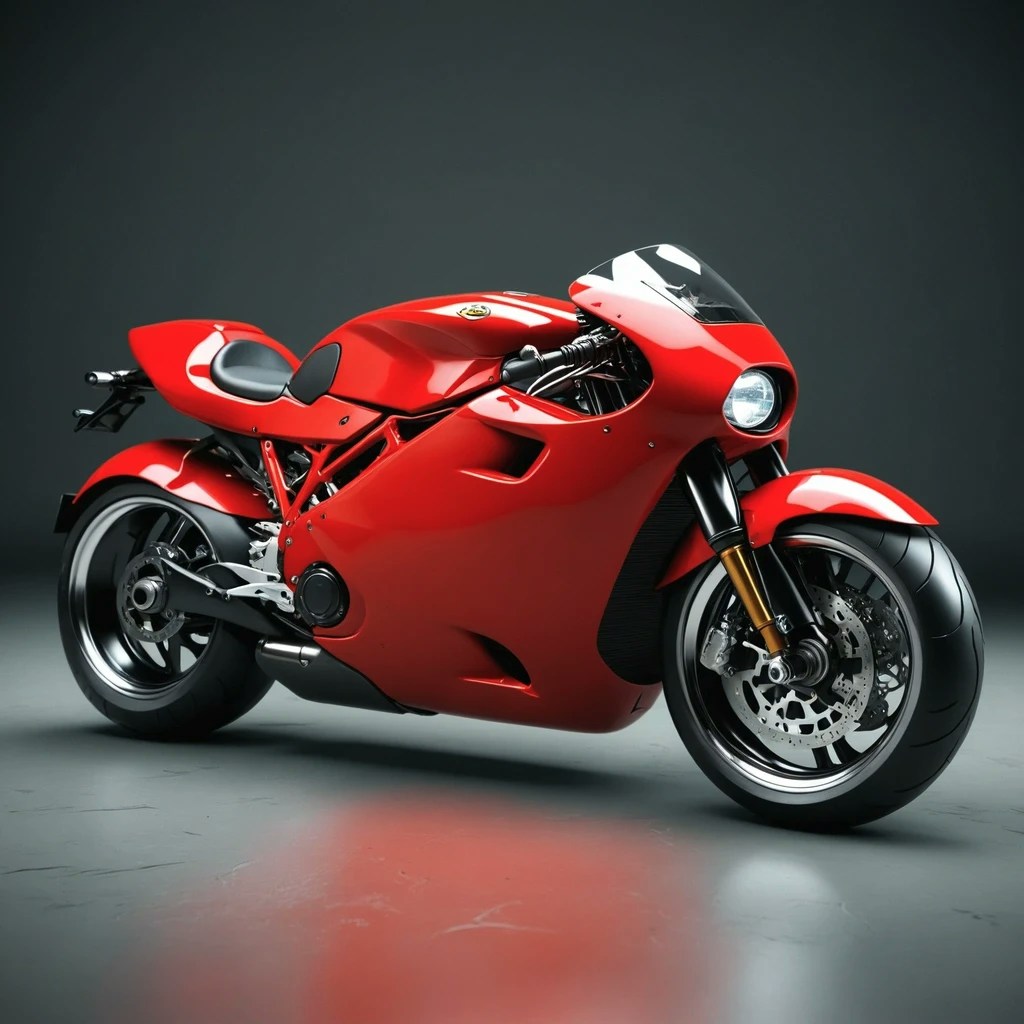 We begin with a simple, hastily drawn sketch. While this is enough to communicate an idea, the proportions and perspective are slightly off.
If we set Alpaca's **Freedom** to 0, the render may also be inaccurate. By giving a bit of **Freedom** (in this case, 30), we can achieve a more accurate render that still stays true to our original sketch.
We begin with a simple, hastily drawn sketch. While this is enough to communicate an idea, the proportions and perspective are slightly off.
If we set Alpaca's **Freedom** to 0, the render may also be inaccurate. By giving a bit of **Freedom** (in this case, 30), we can achieve a more accurate render that still stays true to our original sketch.