> ## Documentation Index
> Fetch the complete documentation index at: https://docs.alpacaml.com/llms.txt
> Use this file to discover all available pages before exploring further.
# Concept Art - Environment
> Leveraging Alpaca AI rendering for environmental concept art iteration and exploration.
In our last guide, we looked at how Alpaca can help accelerate conceptualization for [Character Design](/guides/concept-character).
In this guide we are going to look at how to make the best out of Alpaca for an environment concept.
This time, we are going to start our process with a line art sketch outlining the concept we are trying to develop
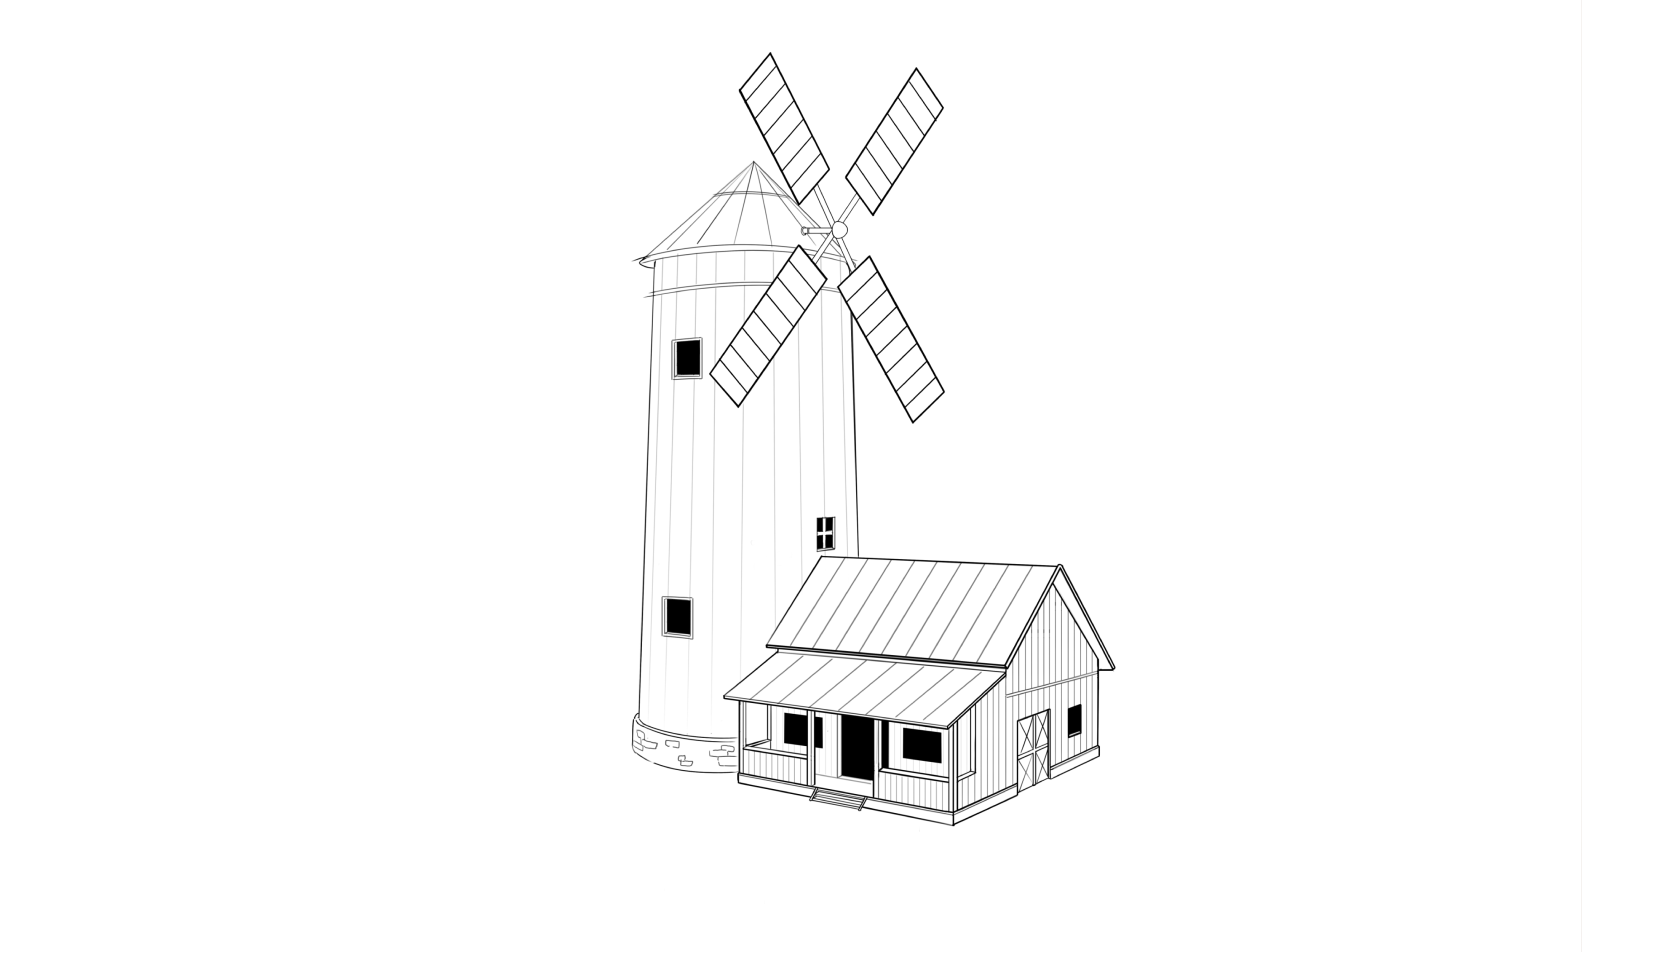 With Alpaca we can directly render this sketch, or, if we want Alpaca to follow a precise color scheme we could first quickly add some flat colors to the sketch.
We are going to go for the first option and make our first render to see what Alpaca proposes, using the prompt `mill, barn house, animated style, 3d, uniform background`.
Because our sketch is pretty accurate we don’t want Alpaca to get creative so we are going to set **Freedom** to 0, and because we want a full rendering (as opposed to just flat coloring) we will set **Details** somewhere between 90 and 100.
You can play with those values and the prompt to get different generations.
With Alpaca we can directly render this sketch, or, if we want Alpaca to follow a precise color scheme we could first quickly add some flat colors to the sketch.
We are going to go for the first option and make our first render to see what Alpaca proposes, using the prompt `mill, barn house, animated style, 3d, uniform background`.
Because our sketch is pretty accurate we don’t want Alpaca to get creative so we are going to set **Freedom** to 0, and because we want a full rendering (as opposed to just flat coloring) we will set **Details** somewhere between 90 and 100.
You can play with those values and the prompt to get different generations.
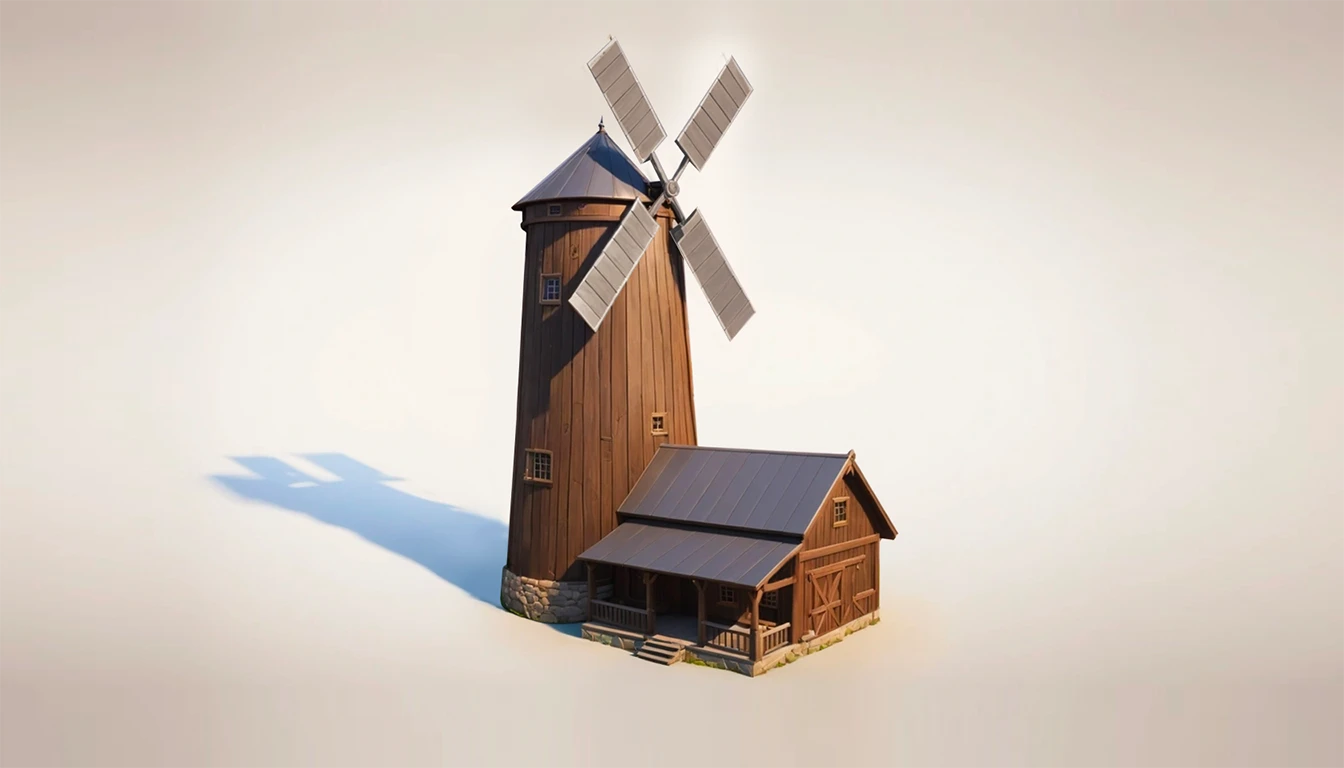
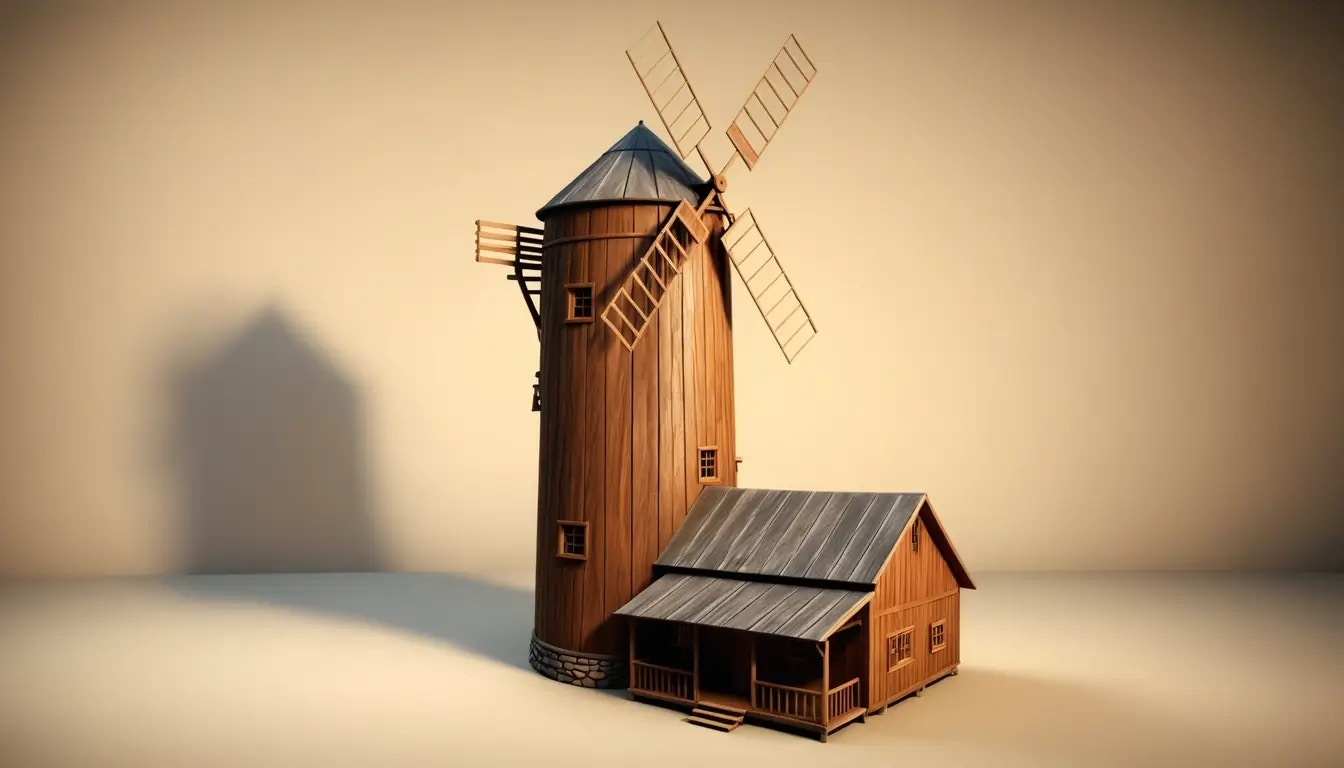
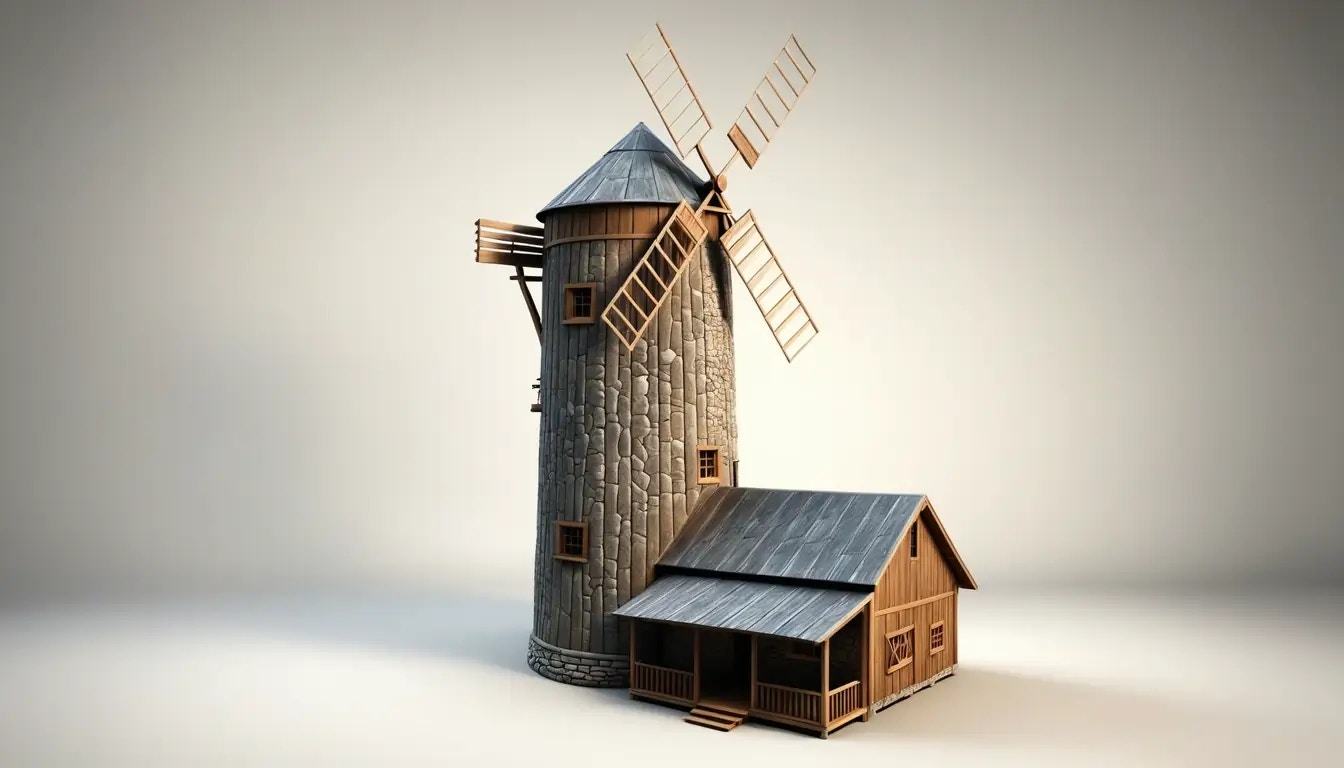 That first one is pretty good, so we will use it as our base.
We want our mill to be on a grassy patch, with a small path leading to the house, and we want everything to be surrounded by a golden wheat field.
Because Alpaca allows us to work iteratively, we can focus on one element at a time, so first we will quickly paint in the grass and the path, and do a second rendering pass.
That first one is pretty good, so we will use it as our base.
We want our mill to be on a grassy patch, with a small path leading to the house, and we want everything to be surrounded by a golden wheat field.
Because Alpaca allows us to work iteratively, we can focus on one element at a time, so first we will quickly paint in the grass and the path, and do a second rendering pass.
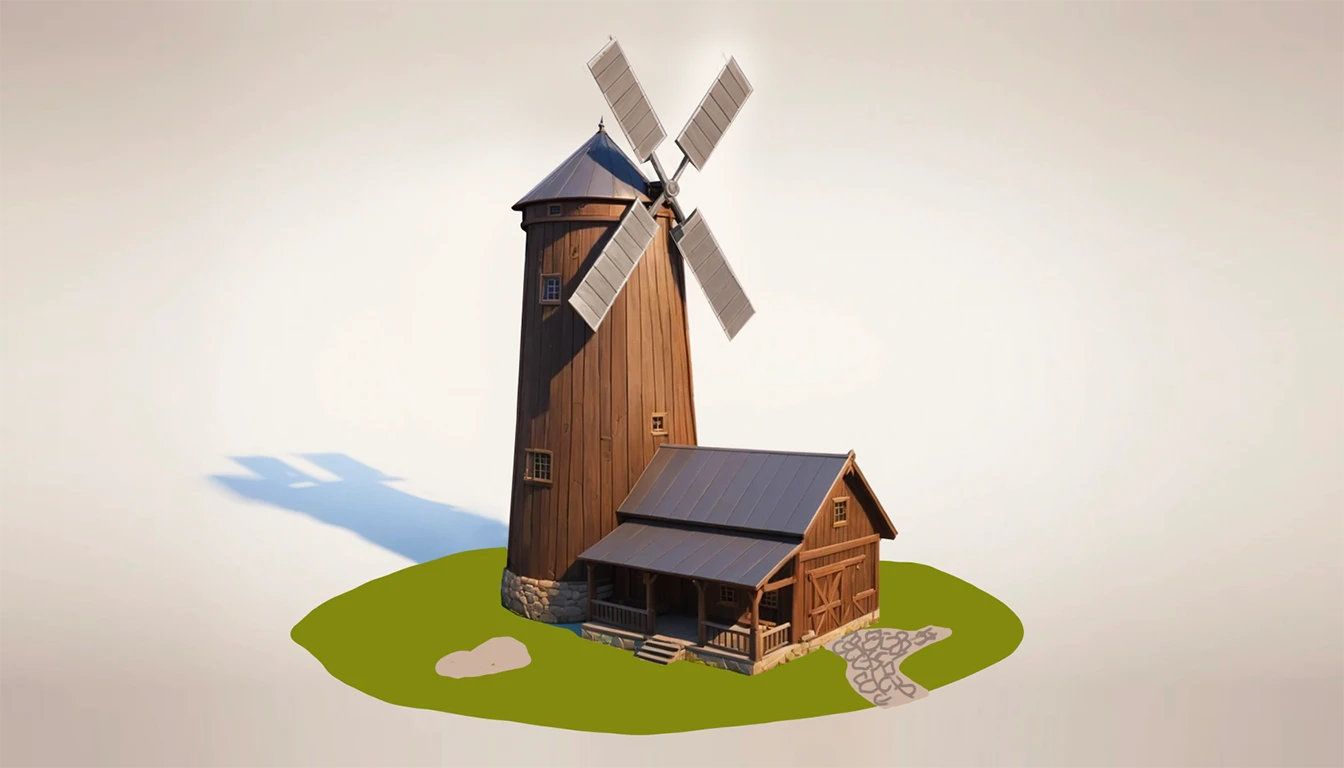 At that point we can simply re-render the entire image, or if we want to keep our existing elements exactly as they are, we can mask the grass and path with the **Generation Mask** tool so that only this part will be re-rendered, leaving the rest of the image intact.
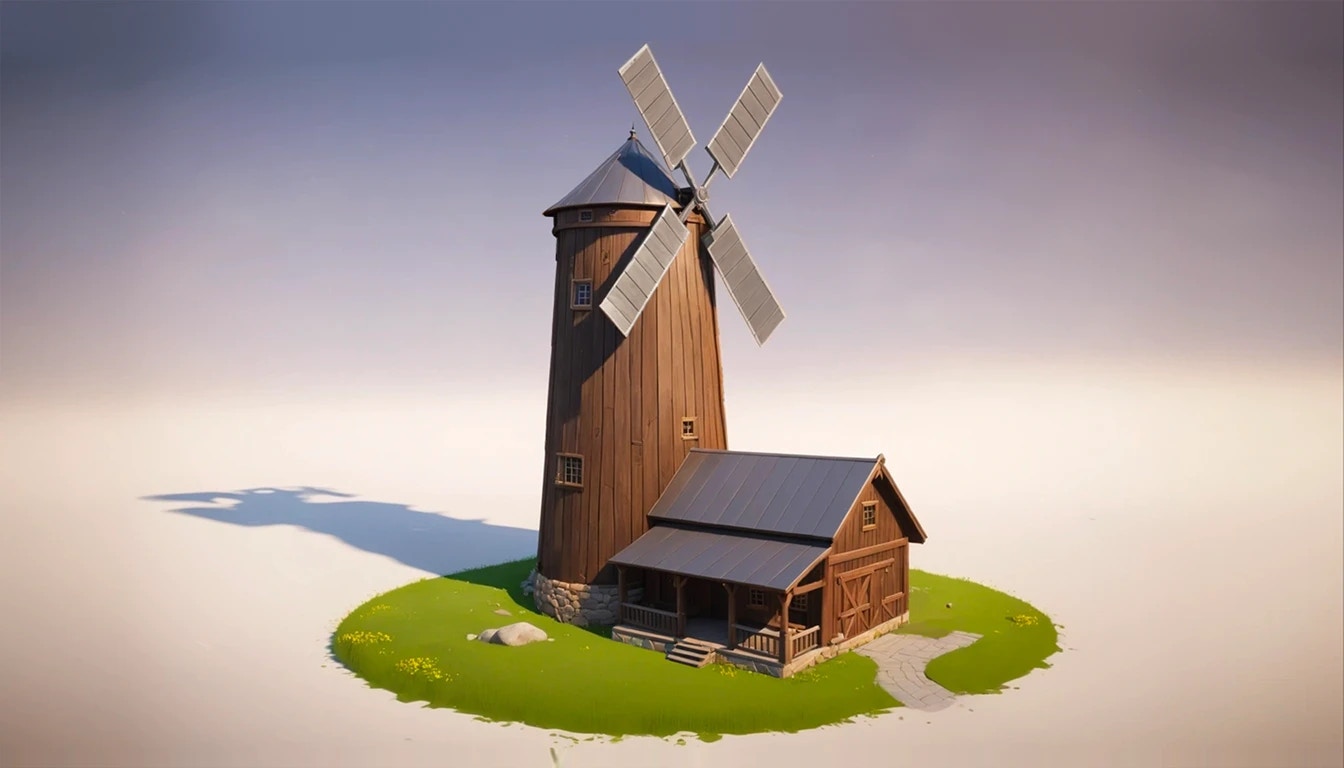 Looking good! Now we would like to start visualizing our mill as part of a larger environment and see how things fit together.
First, we can a quick extra render pass, keeping Freedom to 0 and bumping Change to around 70-80, and prompting for what we want, for example here `blue sky`.
Looking good! Now we would like to start visualizing our mill as part of a larger environment and see how things fit together.
First, we can a quick extra render pass, keeping Freedom to 0 and bumping Change to around 70-80, and prompting for what we want, for example here `blue sky`.
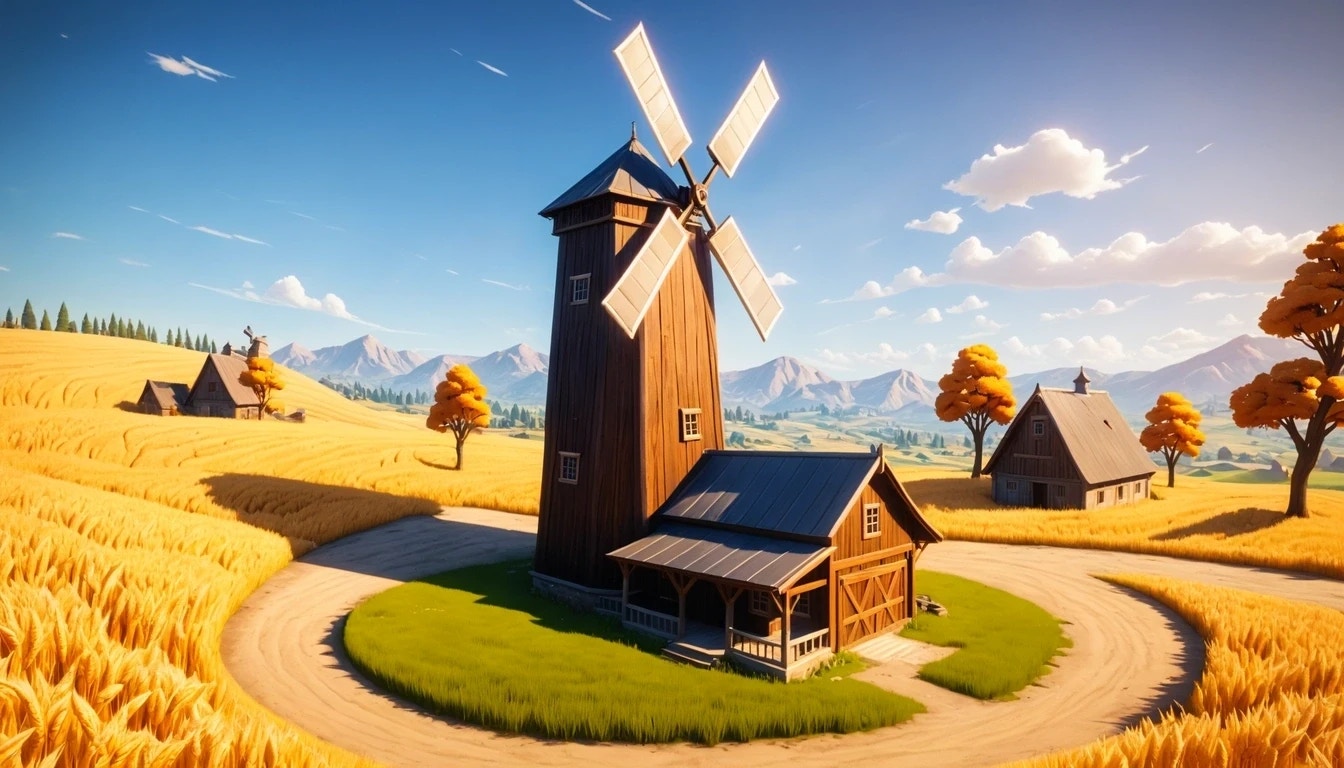
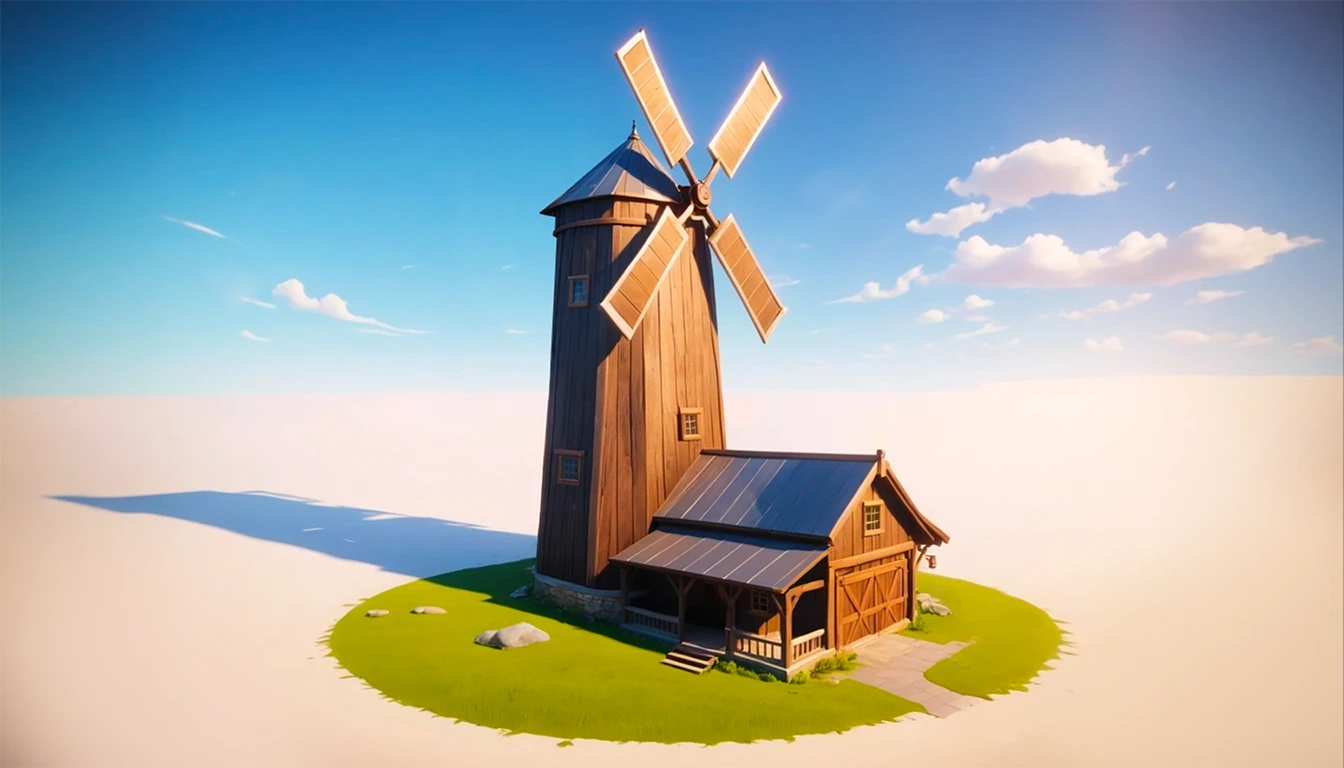 We could continue doing that, while also using **Generation Mask** to bring it more and more details to our image only using prompts.
But, if we have something specific in mind, we can simply do a quick paint over just like we have done for the grass and path before to outline what we are looking for.
We could continue doing that, while also using **Generation Mask** to bring it more and more details to our image only using prompts.
But, if we have something specific in mind, we can simply do a quick paint over just like we have done for the grass and path before to outline what we are looking for.
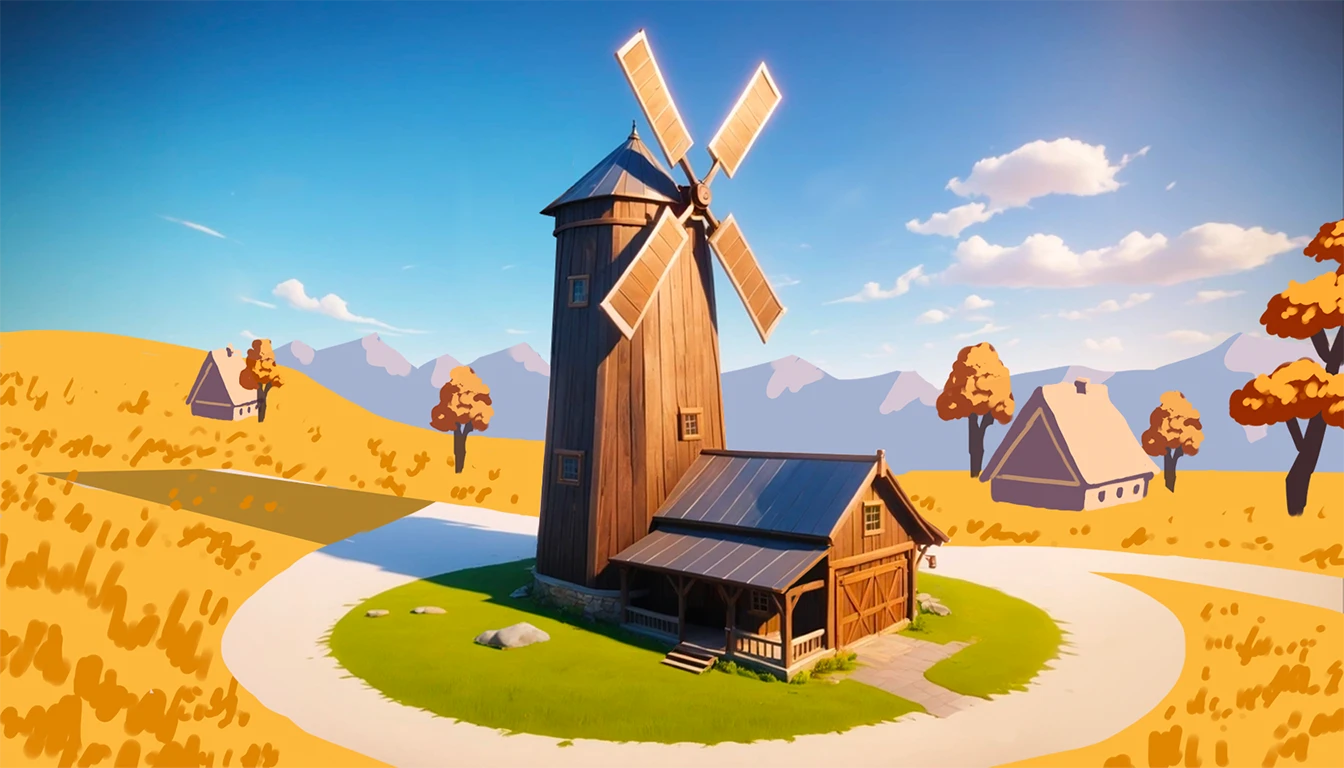 And re-render:
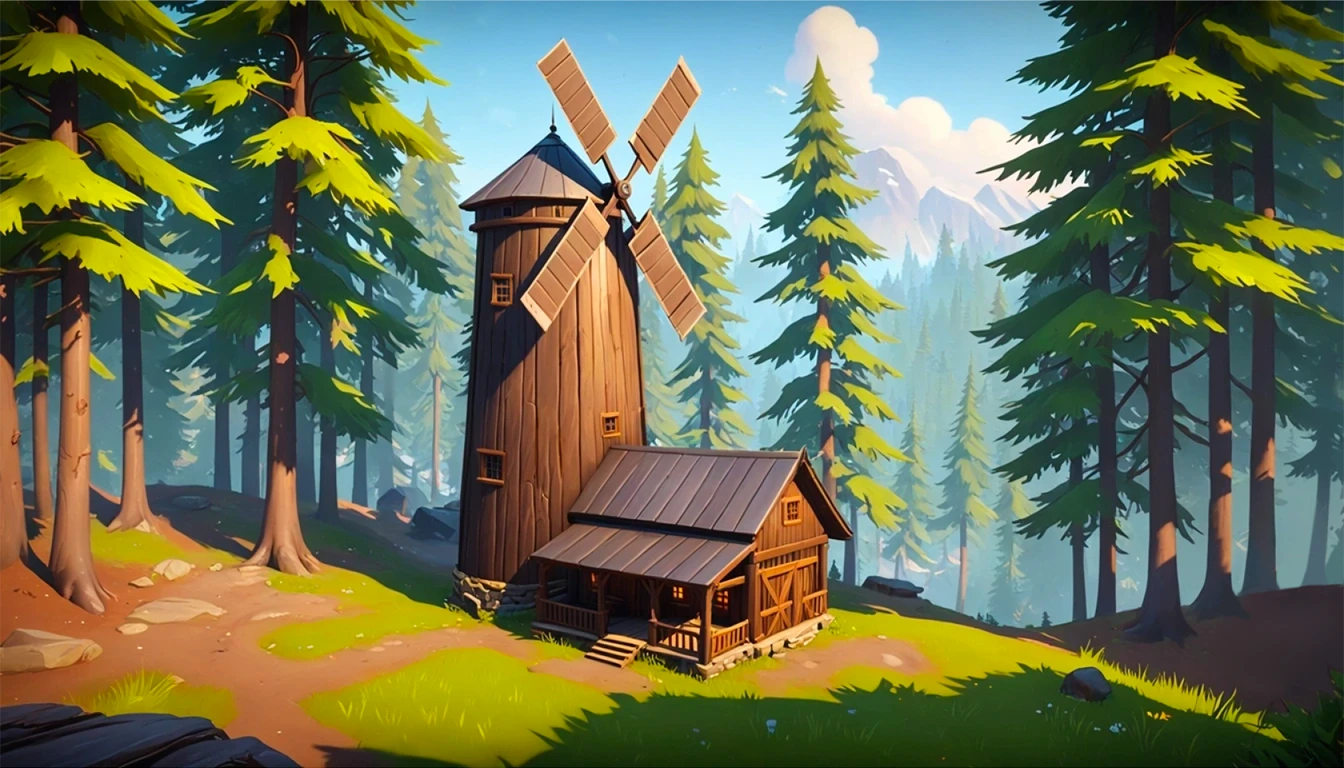
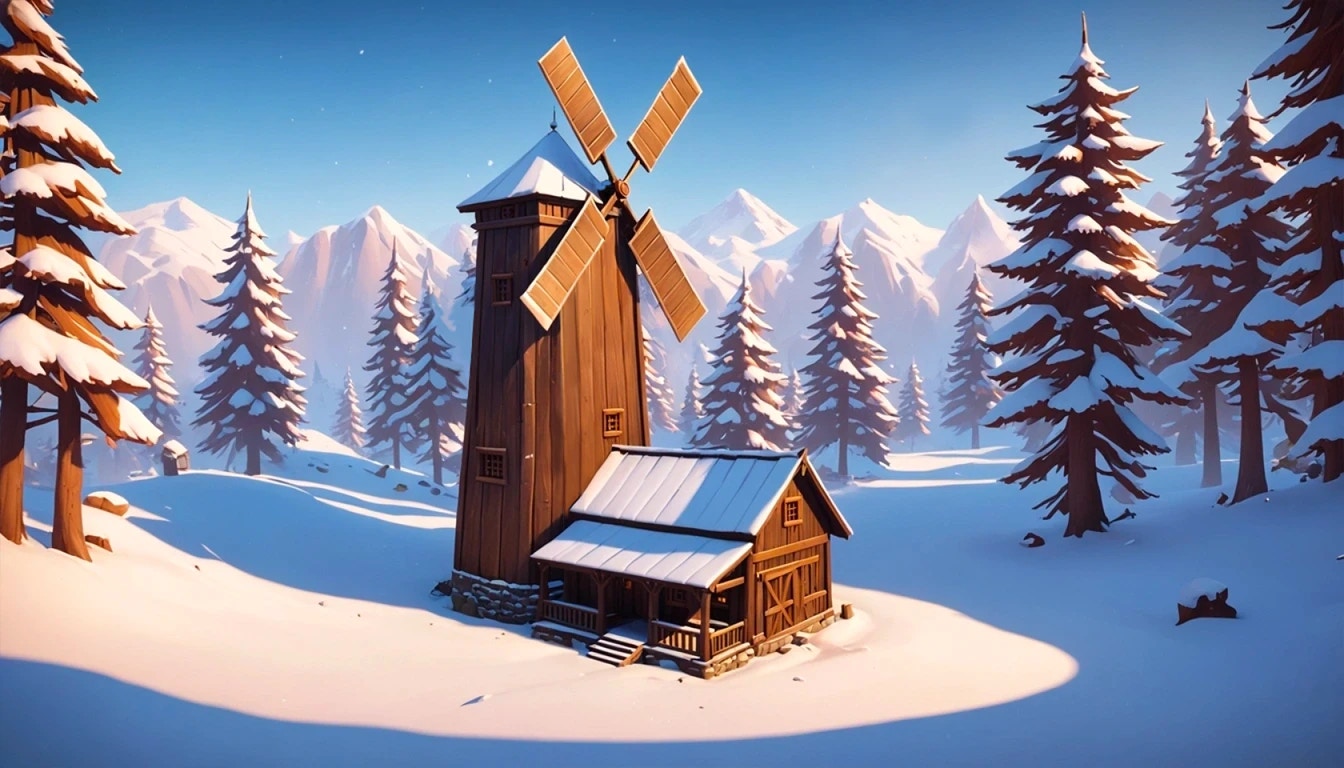
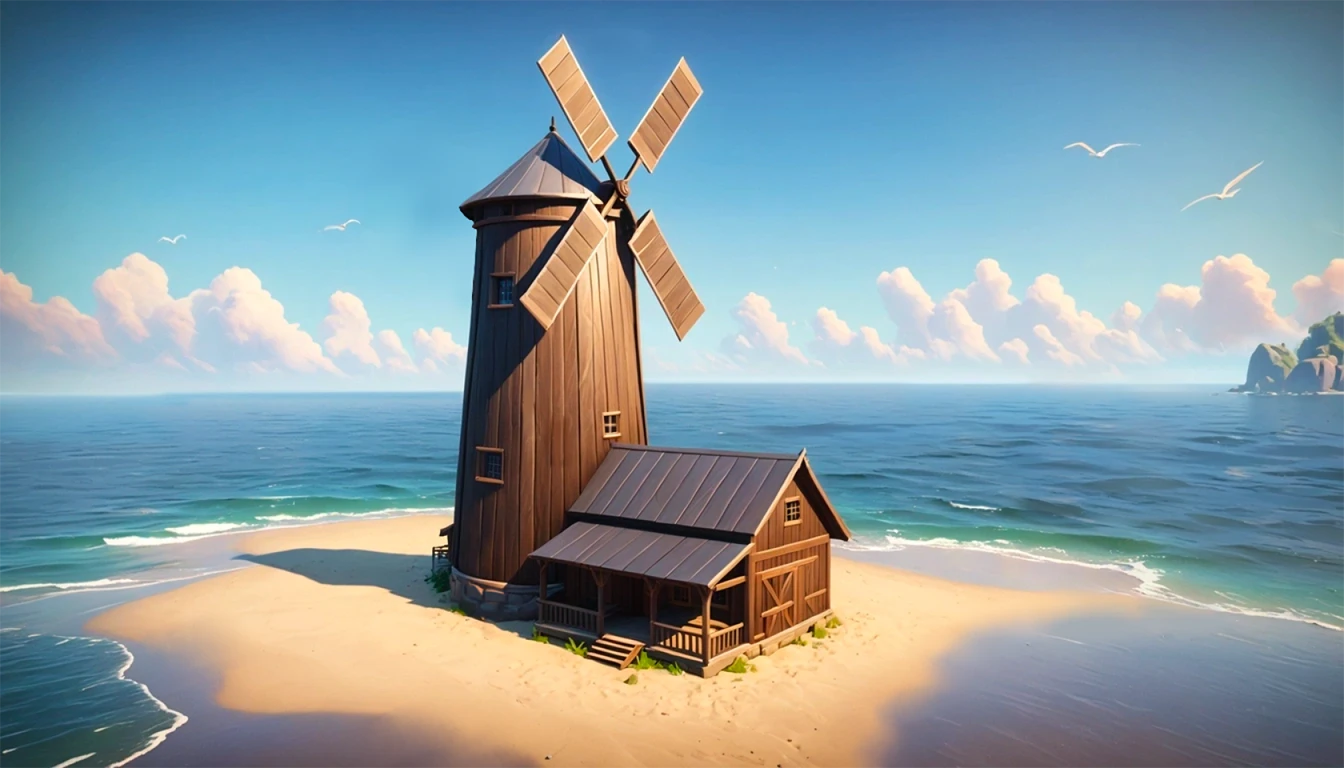
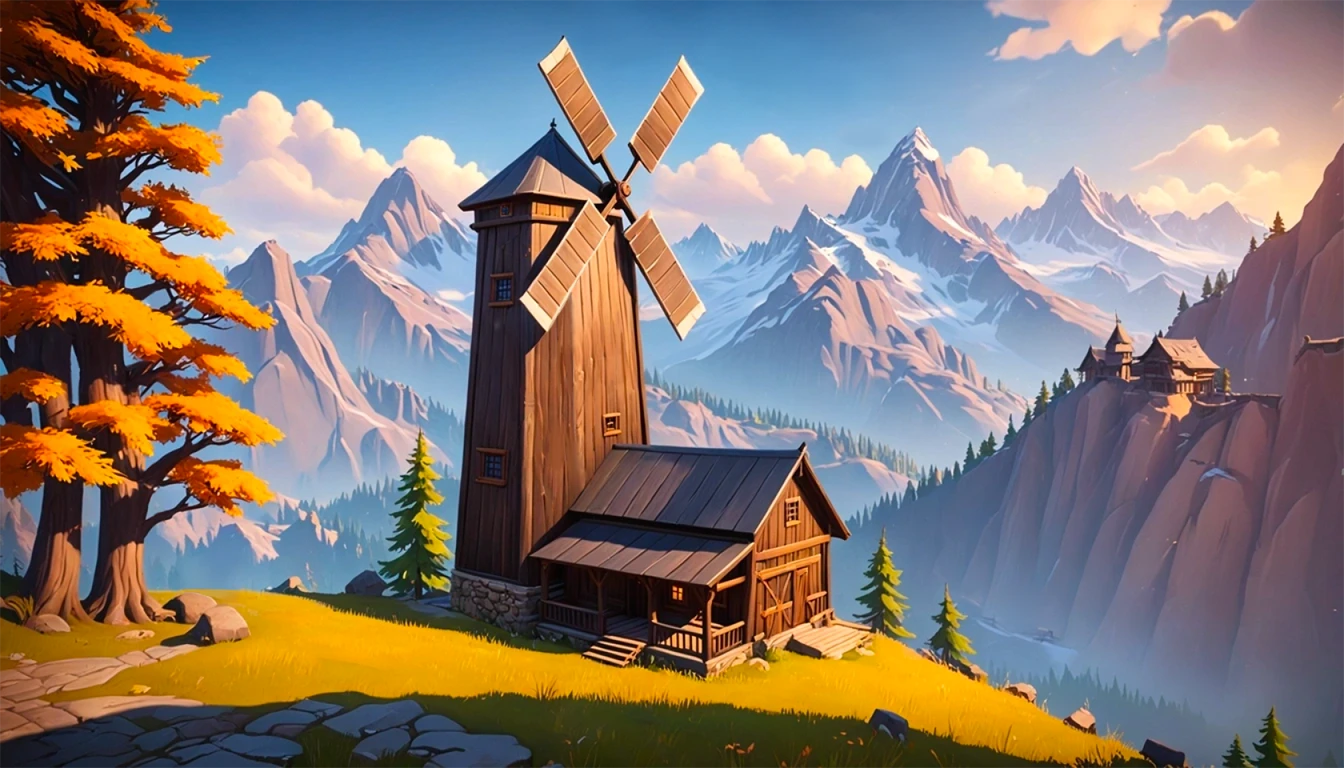
 There is another, quicker way of seeing what your mill would look like in various environments:
We can simply extract the mill (using object select in Photoshop for example) and leave the rest of the image transparent, and ask Alpaca to fill in the background.
Though this approach provides less control than the previous method, it's an effective way to generate a wide range of visualizations quickly.
There is another, quicker way of seeing what your mill would look like in various environments:
We can simply extract the mill (using object select in Photoshop for example) and leave the rest of the image transparent, and ask Alpaca to fill in the background.
Though this approach provides less control than the previous method, it's an effective way to generate a wide range of visualizations quickly.
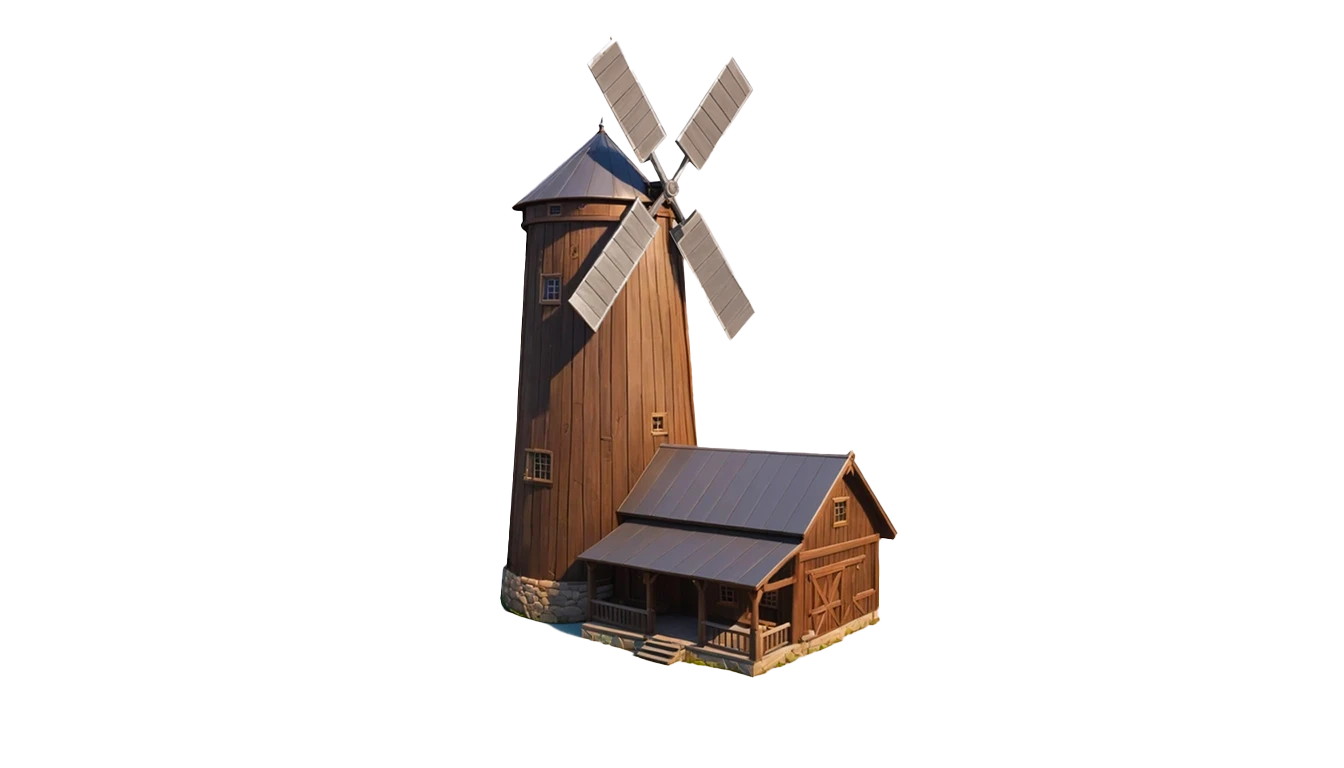 We can then make a few renders with **Freedom** at 0 and change anywhere from 0 to 50 depending on the effect we want to achieve.
Here are a few examples of renders using various prompts to generate backgrounds:
We can then make a few renders with **Freedom** at 0 and change anywhere from 0 to 50 depending on the effect we want to achieve.
Here are a few examples of renders using various prompts to generate backgrounds: