> ## Documentation Index
> Fetch the complete documentation index at: https://docs.alpacaml.com/llms.txt
> Use this file to discover all available pages before exploring further.
# Sketch
> Control composition with your own sketches
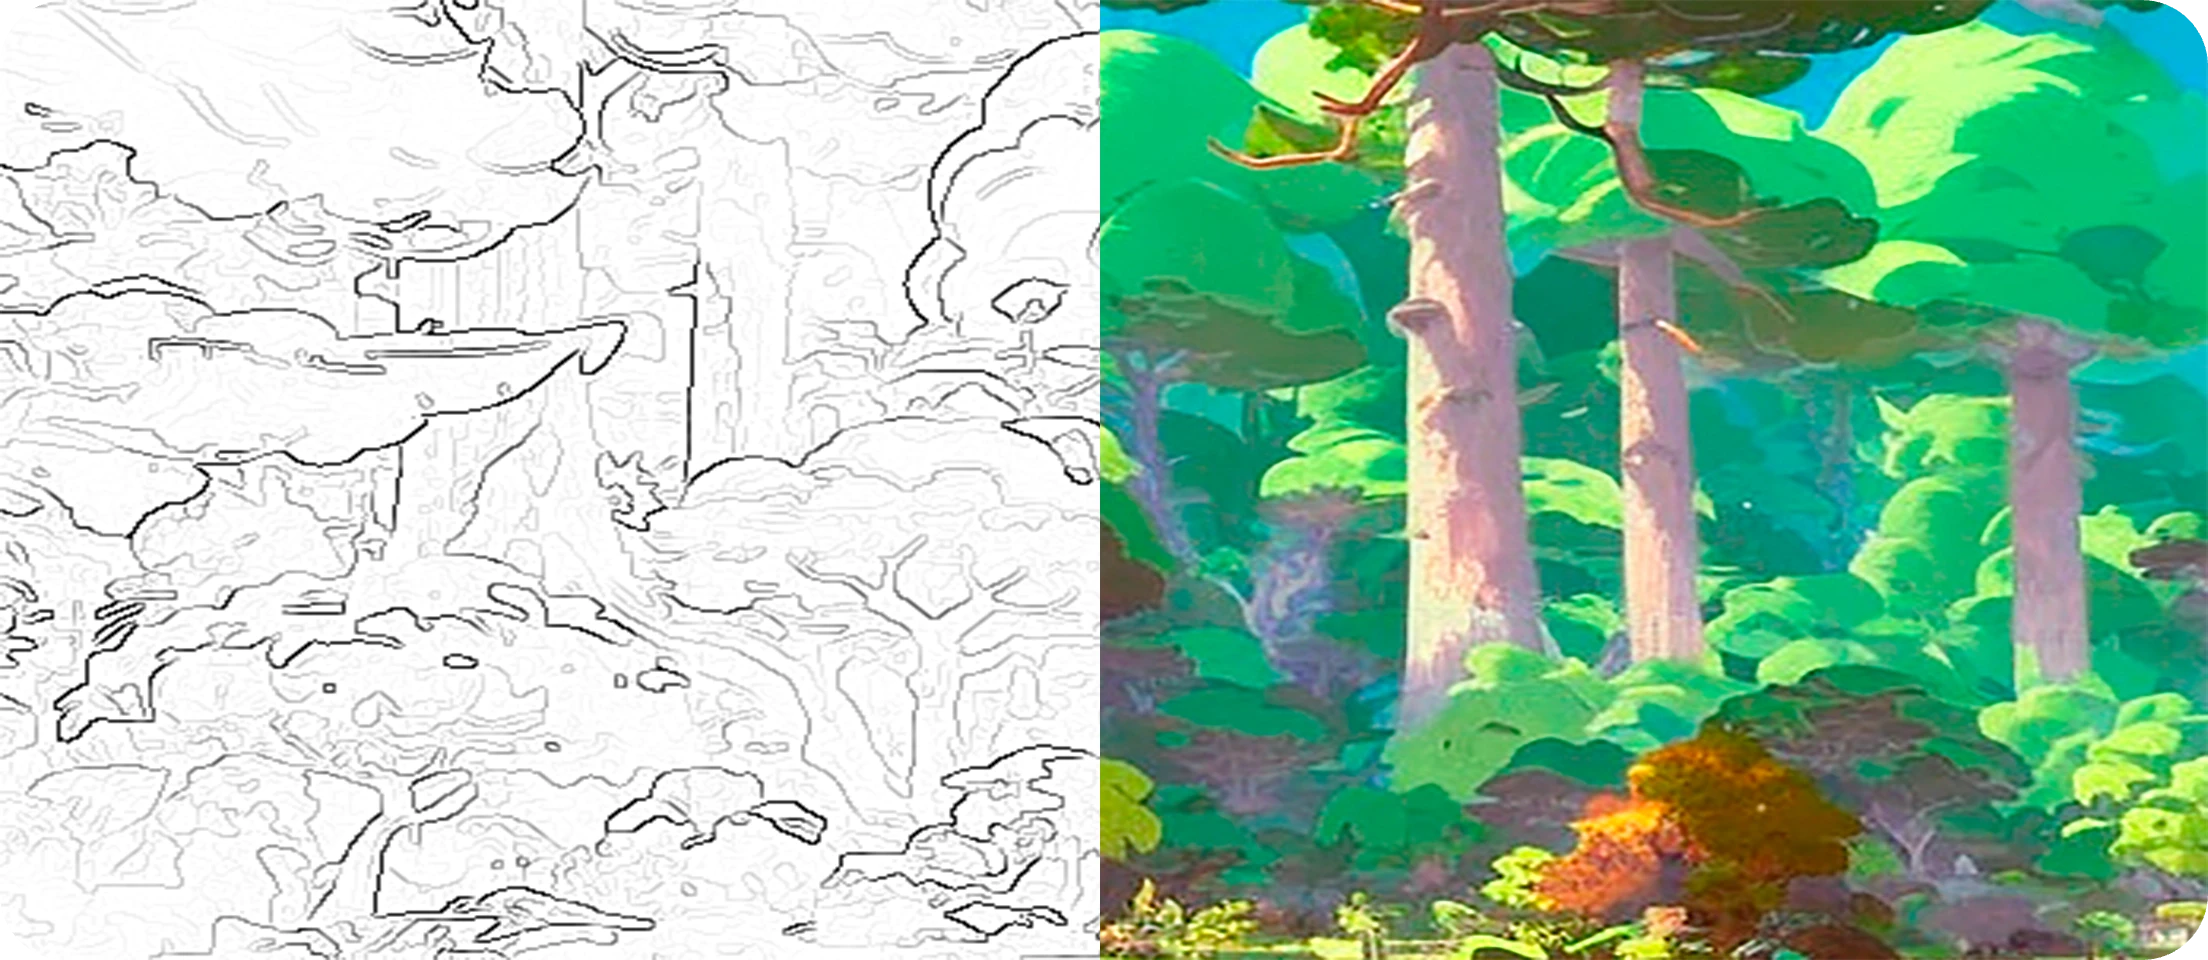
Sketch allows you to control outputs using sketch references.
Here, we'll show you how to control the outputs of your generations using line art sketches or doodles and provide you
with some starter sketches to play around with.
Finally, we will see how to guide the Sketch tool with our own colors.
### Basic Usage
Your Alpaca plugin may look a bit different than in the video as we are
constantly improving it.
The Sketch command is controlled by two inputs:
* a reference sketch
* a text prompt.
The reference sketch will be used to control the form or composition of your image.
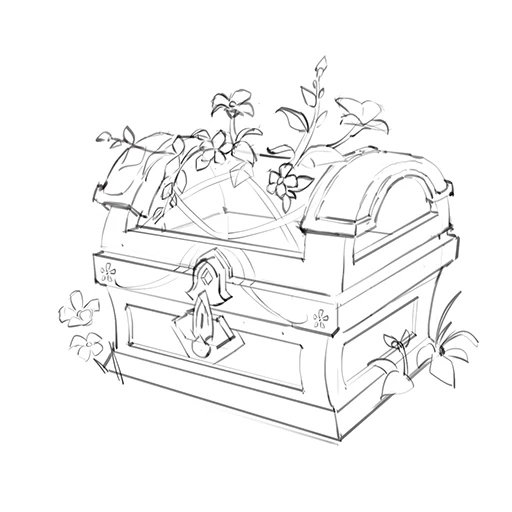
You can create reference sketcheswith varying degrees of fidelity and detail, from a simple scribble to a more detailed sketch like the one in the example. Simply alter the `Sketch Type` in the
dropdown box in the Alpaca panel accordingly.
The text prompt can be used to specify style, colour, lighting, mood, or other details.
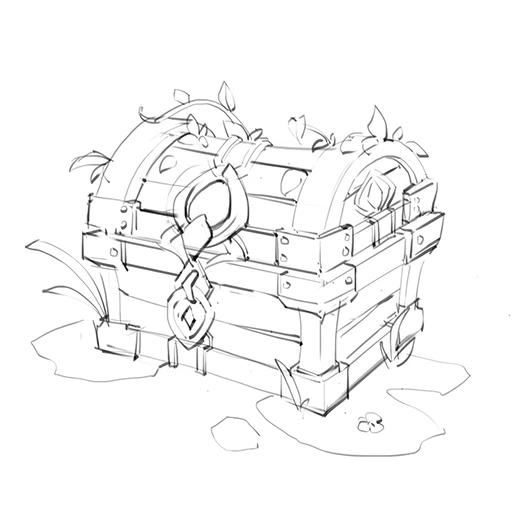
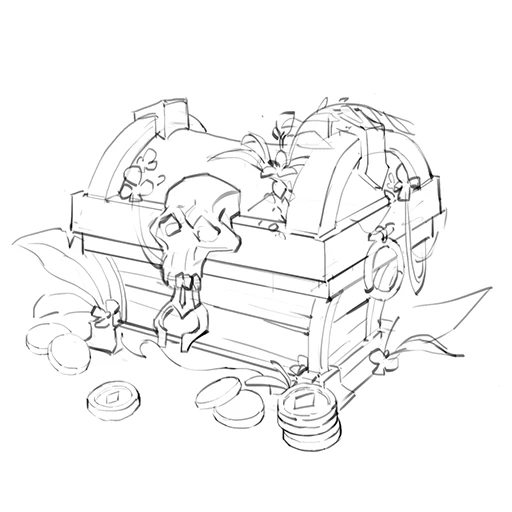
Below, you can find some sample sketches and prompts like the ones used in this example.
### Using Colors
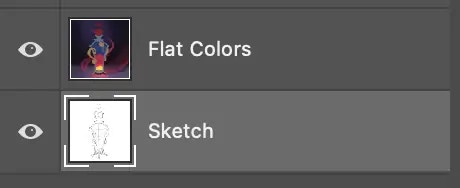
You can also get Alpaca to create generation that follow a specific color scheme by providing your own flat colors in addition to your sketch.
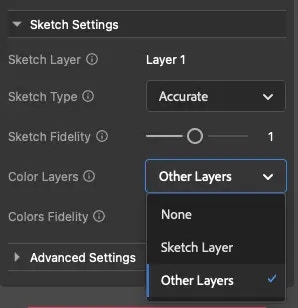
To enable color mode, under `Sketch Settings` set `Color Layers` to `Other Layers`
if your sketch and colors are in separate layers, or to `Sketch Layer` if you have
everything in a single layer.
When using a single layer for sketch and colors, your sketch line will also
affect the colors of the generation. It is better to use separate layers for
best quality, this feature is only here for convenience when doing some rapid
testing.
From now on, any visible layer that is not your sketching layer will be used to guide your generations.
Make sure to keep your sketch layer and colors in separate layer and select your sketch layer before clicking `Generate`
You can play with `Color Strength` for more interesting results. This settings
controls the fidelity of the generation with regards to your colors. The
higher the strength the more Alpaca will respect your colors, but the less the
image will change. To get more creative results, lower the strength.
## Parameters
***
### Prompt
The `Prompt` box, located in the main section of the Alpaca panel, takes in a text prompt describing the subject matter,
style, composition, and characteristics of your desired image. You can also describe what you do not want to see in the output by clickling on `Exclude`.
You can learn more about writing prompts by checking our our [Prompt Guide](/guides/prompting).
### Images
Allows you to specify how many images you want Alpaca to generate from 1 to 5. The higher the number of images, the more credits the generation will cost, and the slowest it will be.
### Seed
The seed acts as a unique identifier, guiding the creation process of each generation.
If you retain the same seed with identical settings, the output will always be the same.
Retain the seed, while changing other parameters (e.g. altering the prompt) and you'll derive a distinct yet related creation.
For an element of unpredictability, set the seed to `0` and Alpaca will choose a random seed for each image, creating more variations
### Steps
Higher number of steps will lead to better quality, but also cost more credits and make the generation slower.
### Sketch Type
You can choose between three `Sketch Types` -- `Accurate`, `Rough`, and `Scribble`, each of which will use a particular model built to render that type.
`Accurate` will follow your sketch very closely while `Scribble` will mostly only follow it's general composition (great for doodling), `Rough` falls in the middle.
### Sketch Strength
Controls the degree to which the output adheres to the sketch. A low value
allows for a more liberal interpretation of the reference sketch, while a high value ensures that the sketch outline will be strictly followed.
### Color Layers
Which (visible) layers to use to guide colors:
* `None`: No color guidance, Alpaca will generate colors solely based on your prompt and sketch.
* `Other layers`: Alpaca will follow the colors contained in your visible layers other **except the sketch layer**.
* `Sketch layer`: Alpaca will follow the colors contained in the same layer that contains your sketch.
### Color Strength
Controls the degree to which changes are made to the underlying color palette, in the case where
you have checked the `Use Color Reference` box. A low `Color Strength` will keep the output close to the original color reference, while a high value will
add more shading, lighting, and detail to the output.
### Prompt Strength
The `Prompt Strength` slider controls the influence of the prompt — higher values of this parameter force the model to be more
attentive to the prompt. We can consider this to be a “rigid” vs “relaxed” interpretation of the prompt. 7 is a good balance.
 Sketch allows you to control outputs using sketch references.
Here, we'll show you how to control the outputs of your generations using line art sketches or doodles and provide you
with some starter sketches to play around with.
Finally, we will see how to guide the Sketch tool with our own colors.
### Basic Usage
Sketch allows you to control outputs using sketch references.
Here, we'll show you how to control the outputs of your generations using line art sketches or doodles and provide you
with some starter sketches to play around with.
Finally, we will see how to guide the Sketch tool with our own colors.
### Basic Usage
 ### Using Colors
You can also get Alpaca to create generation that follow a specific color scheme by providing your own flat colors in addition to your sketch.
### Using Colors
You can also get Alpaca to create generation that follow a specific color scheme by providing your own flat colors in addition to your sketch.
 From now on, any visible layer that is not your sketching layer will be used to guide your generations.
Make sure to keep your sketch layer and colors in separate layer and select your sketch layer before clicking `Generate`
From now on, any visible layer that is not your sketching layer will be used to guide your generations.
Make sure to keep your sketch layer and colors in separate layer and select your sketch layer before clicking `Generate`