> ## Documentation Index
> Fetch the complete documentation index at: https://docs.alpacaml.com/llms.txt
> Use this file to discover all available pages before exploring further.
# Installing the Beta Plugin
## Prerequisite
Adobe Photoshop must be installed and up to date.
* For Adobe Photoshop 2023 and above, any version should work.
* For Adobe Photoshop 2022, ensure you have at least v23.4.0
* For Adobe Photoshop 2021, ensure you have at least v22.5.9
## Adobe Creative Cloud Marketplace
For Photoshop 2023 and above, the easiest way to install Alpaca is simply to get it from Creative Cloud Marketplace, [over here!](https://exchange.adobe.com/apps/cc/607cbf25).
If that does not work for you, or if you have an older version of Photoshop then continue reading, otherwise you are good to go!
## Downloading the plugin
You'll find the download link directly in your
[Dashboard](https://www.alpacaml.com/dashboard/home) by following the 3-step guide.
## Installation
### With Creative Cloud
1. Simply click on the file you downloaded (e.g. `alpaca-1.5.1_PS23.ccx`). This should open
Creative Cloud and ask you if want to install the plugin locally.
If nothing happens when you double click on the file, quit Creative Cloud
before trying to open the file again.
2. Once installed, open **Adobe Photoshop**, and you should see a new tab called
'alpaca' with a login screen. You can dock this tab anywhere just like any
other Adobe Photoshop tab.
If you do not see the tab, in Adobe Photoshop, go to **Plugins → alpaca** and
make sure alpaca is checked.
### Without Creative Cloud
1. Unzip (e.g. `alpaca-1.5.1_PS23.zip`), you should now have a alpaca folder (with a version number
in the name)
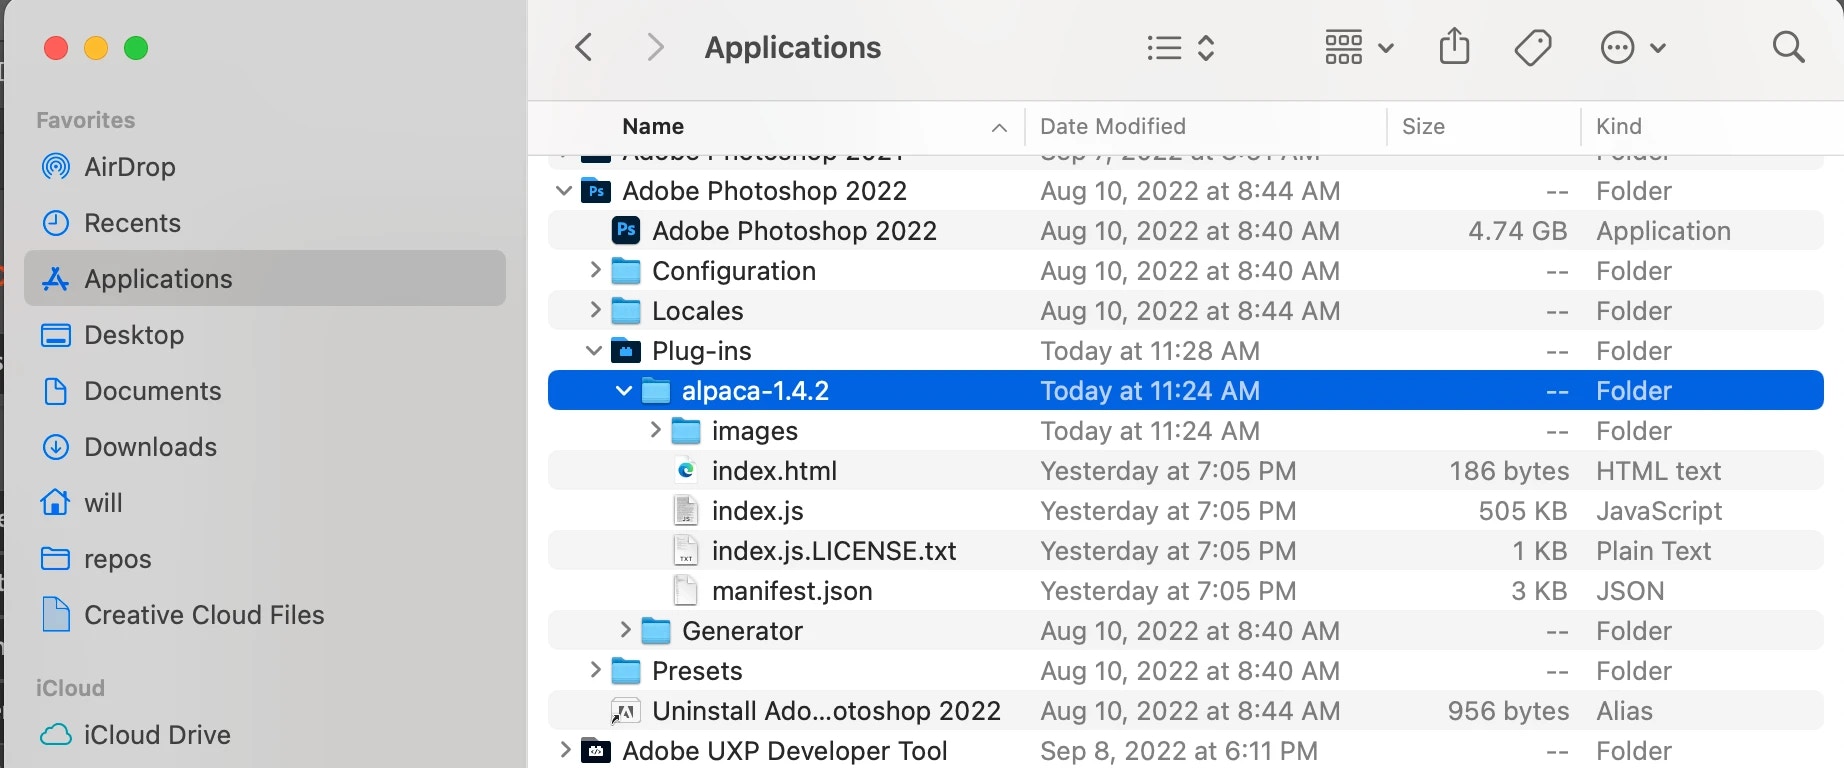
2. Move the alpaca folder in your Adobe Photoshop plugin directory
1. On MacOS, the plugin folder is located under **Applications → Adobe
Photoshop 2022 → Plug-ins**
2. On Windows, the plugin folder should be under **C:\Program Files\Adobe\Adobe Photoshop 2022\Plug-ins**
 3. Open Adobe Photoshop (if it was already open, restart it), in the menu, under
**Plugins** you should now see **alpaca**. Enable it by clicking on **alpaca
→ alpaca**. Going back into Adobe Photoshop, you should now see an **alpaca** tab,
you can move it or dock it anywhere and start using **alpaca**.
3. Open Adobe Photoshop (if it was already open, restart it), in the menu, under
**Plugins** you should now see **alpaca**. Enable it by clicking on **alpaca
→ alpaca**. Going back into Adobe Photoshop, you should now see an **alpaca** tab,
you can move it or dock it anywhere and start using **alpaca**.